This must be one of the quickest project I have ever undertaken. I came across this lovely chair at my local second hand store (are you guessing which one? LOL) and I instantly fell in love with it! Mostly I love the shape of the backing. Not quite a heart, but enough to remind me of one, in beautiful condition and a nice enough finish. It was a great buy at $5.60 on half-off day. What a steal!
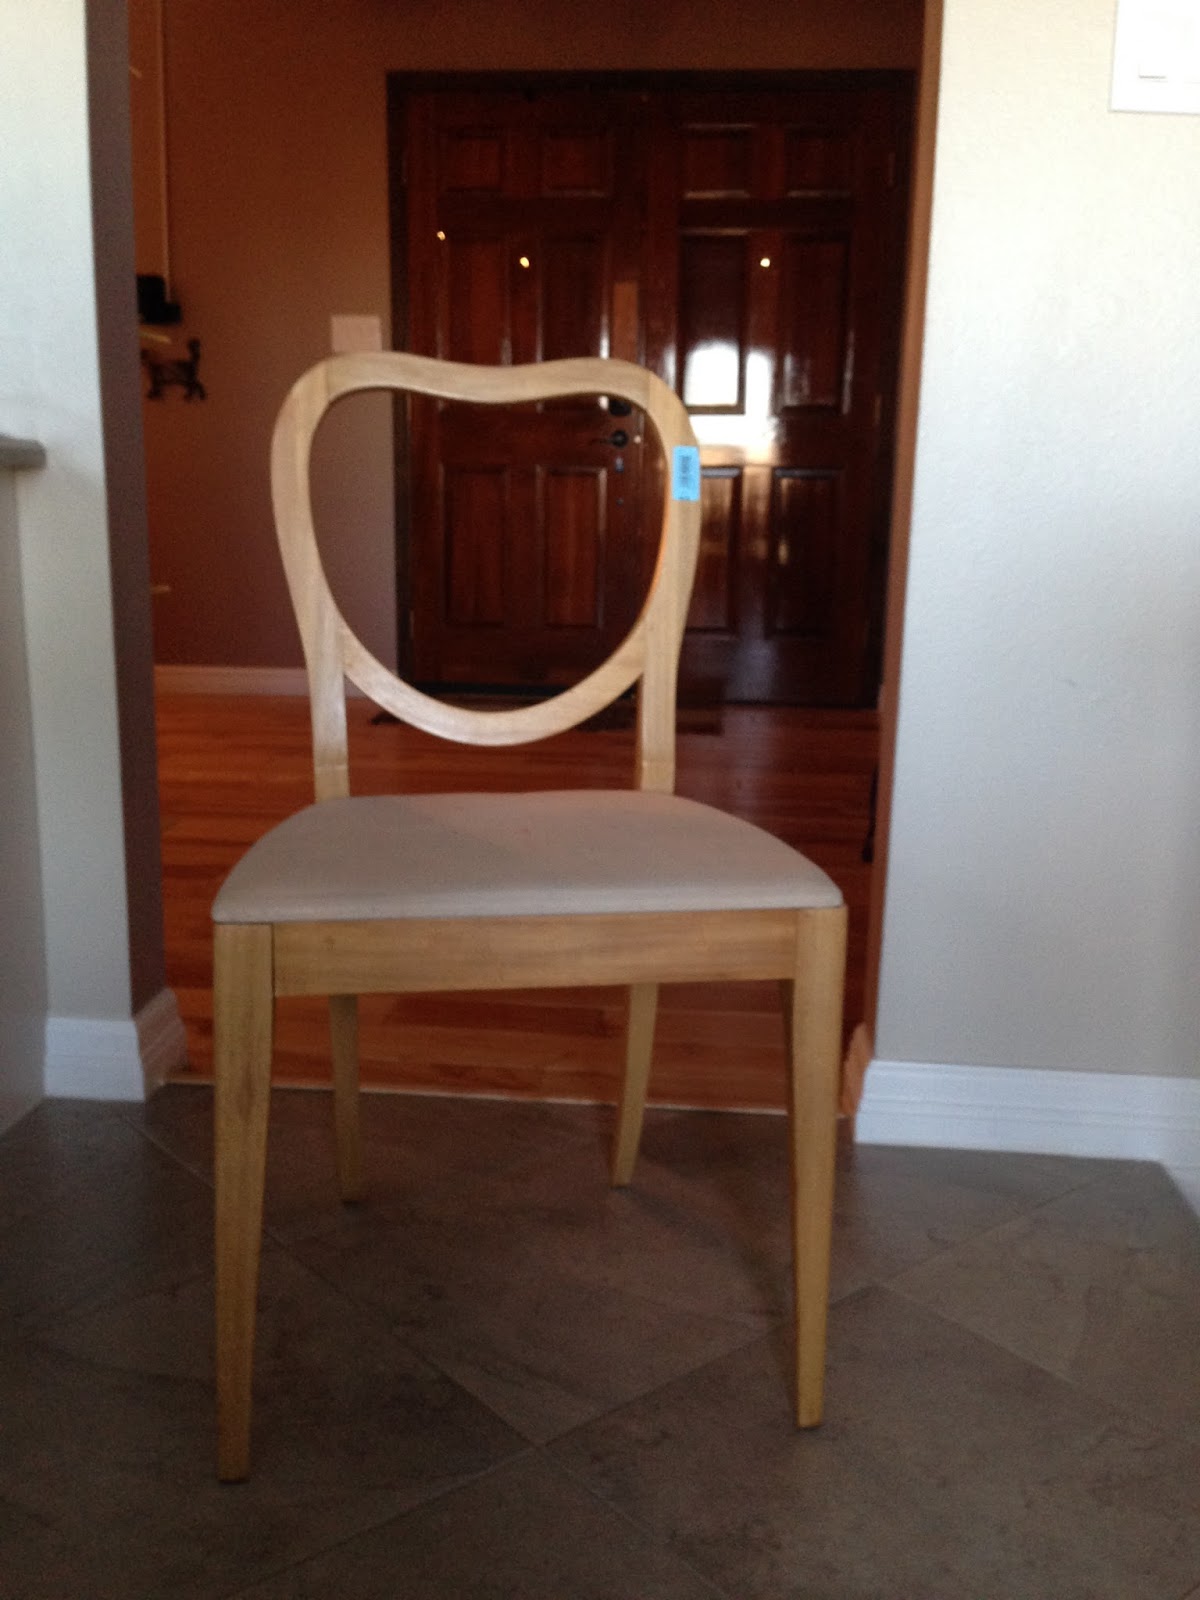
Isn't she a beauty?

What lovely little chair!
I still can't believe that someone threw it out. But it's ok. I rescued it! ^__^

Well, yes, the seat needs some work.
Not only is it boring, but it's also grimy O_o

Time to take this puppy apart!
Oh wait! I said puppy. Smokey will have to come to investigate!
I can sense some jealousy in the air!

I removed the 4 screws at the corners and the seat came off in a jiffy.

Ta-daaaahh! Sans-seat and ready to be scrubbed with a soapy/bleach mixture. I used about 1 TBSP of Dr Bronners and 1/4 TBSP of bleach in a bucket of warm water. I scrubbed the frame down, all over, and that was it. This chair was in pretty good conditions to start with, for a thrift find. So easy!
* * * * *
Ok well, soooooooo.....this is where things got a bit awry for the blog. -__-
My mom called and in the mean time I kept on working...and talking on the phone aaaand...low and behold, I forgot to take photos of me cutting the fabric to size and stapling it to the cushion!
Ooooopsy Daisy!
Anyways, here are some info about those missing steps.
1) In this case I wiped the original pink fabric with my soap/bleach mix to sanitize because
2) I did not remove the original fabric (as it was the only thing keeping the batting in place and there was no need for new batting) but usually I do remove it by prying the original staples with a screwdriver, or an old knife.
 |
| Image courtesy of Amazon.com |
3) The staple gun I used looks a lot like this one above, just a different brand.
Before I knew it, I was all done, my chair was finished, and I was still chatting with my mom.
It's a bit sad that I forgot to take some photos but hey, I love my momma and I don't get to talk to her often, so I think I can be forgiven! ^__^

So here is the final product. Super cute chair for my DH's music room.

...and here it is. In it's 'natural habitat', next to guitars, amplifiers, cords and all fun stuff!
Not too shabby I'd say for a project that took me about 2 hours from start to finish!
Reduce
Reuse
Recycle
No comments:
Post a Comment