So yesterday I was at a friend's house and we needed a toy to direct her foster cat to do what we wanted. I asked A. for a toy but she had none. In her defense she never had a cat in her life, but has rescued one from near death by starvation last month. So off course being the cat fanatic I am, I scoured her house to make a Magic Wand from scratch. Since this is a high value/low cost toy I figured I'd make a second at my house and post a tutorial about it.
Mis-en-place (what you will need):

Light-weight wooden dowel/rod
Sharp scissors
Scotch tape
Metallic foil gift-wrap paper

Cut a long rectangular section off of the gift-wrap paper you have on hand. This was a gift bag that A. had on hand. I was able to cut it in 3 pieces (enough for 3 wands). The rectangle measured approximately 6in x 15in but smaller or bigger will work as well. I did not measure anything, I just worked with the paper I had. Recycling is always preferable, so just use what you have on hand. Old Mylar balloons are ok as well, so is mylar gift wrap. You want a plastic-type paper, not real paper coated to look shiny. It needs to be a very light weight foil-like material that makes crinkly noises when shaken. ^__^

I then began to cut the foil paper in very thin sections (approximately 1/8 of an inch) stopping the cut about half an inch from the top edge of the paper. You will need very sharp scissors or it will take forever and you may ruin the paper. You want to make sure stop the cutting before the edge of the paper. I left about half inch of material untouched, if you cut too close to the edge the strips may tear off when your cat plays with the toy. They will grab it and tug at it. They seem to turn into savages when a new toy is in the house o__O

I continued to cut along the short edge until my finished piece of paper looked like a 'split open hula skirt". This is a game of patience, you'll want to try to keep the strips fairly thin for extra movement.
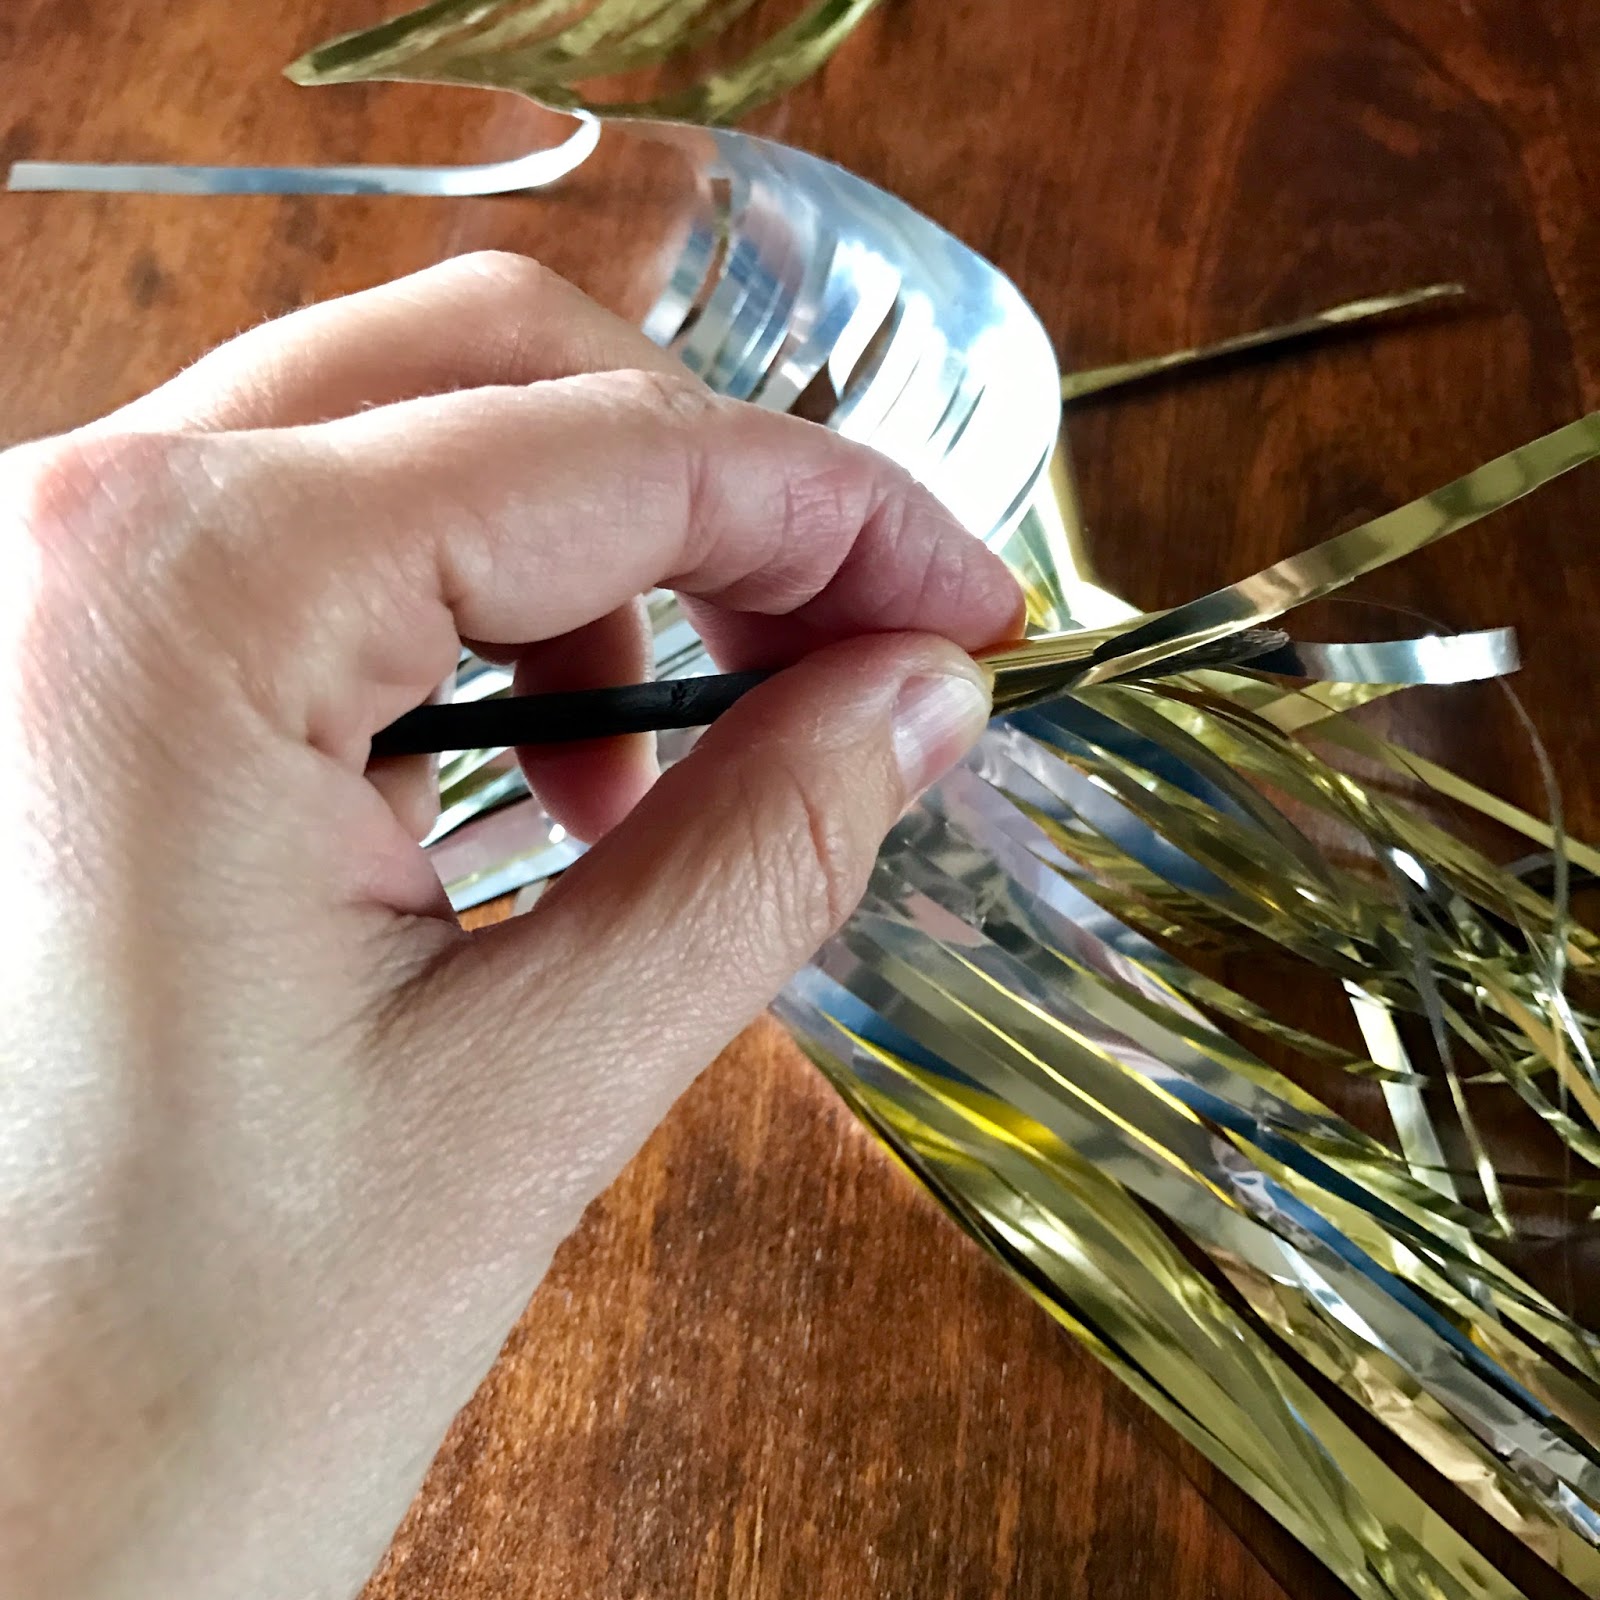
I then grabbed the paper and begin winding the 'uncut' portion around the tip of the wooden stick. I made sure to wind tightly and smoothly around the rod.

Here you can see the winding a little better. Pardon the mangled fingernails, no hand model here...

I then wound some scotch tape around the edge of the paper to secure in place. I made sure to add a whole lot more tape to tightly secure the paper to the wand...may be not as pretty but def: more tape = longer lasting toy.

This is what the wand looks like when finished. Now all you need is test dummy...who could I use?

...introducing: Felis Lynx Rufus and the Magic Wand! ^__^

They definitely are super-attracted to the noise, the movement, and the light-catching tinsel.

...and because this is an equal opportunity household here are a couple of images of Smokey Bones mesmerized by the tinsel-magicness :)

BIG EYES!
* * * * *
Enjoy!
&
Happy Caturday
= ^..^ =