Tuesday, June 25, 2013

A Filing Cabinet Tale - From Rags To Riches 


This is the story of 2 filing cabinets, that shrank down to 1 and got a makeover! ^__^
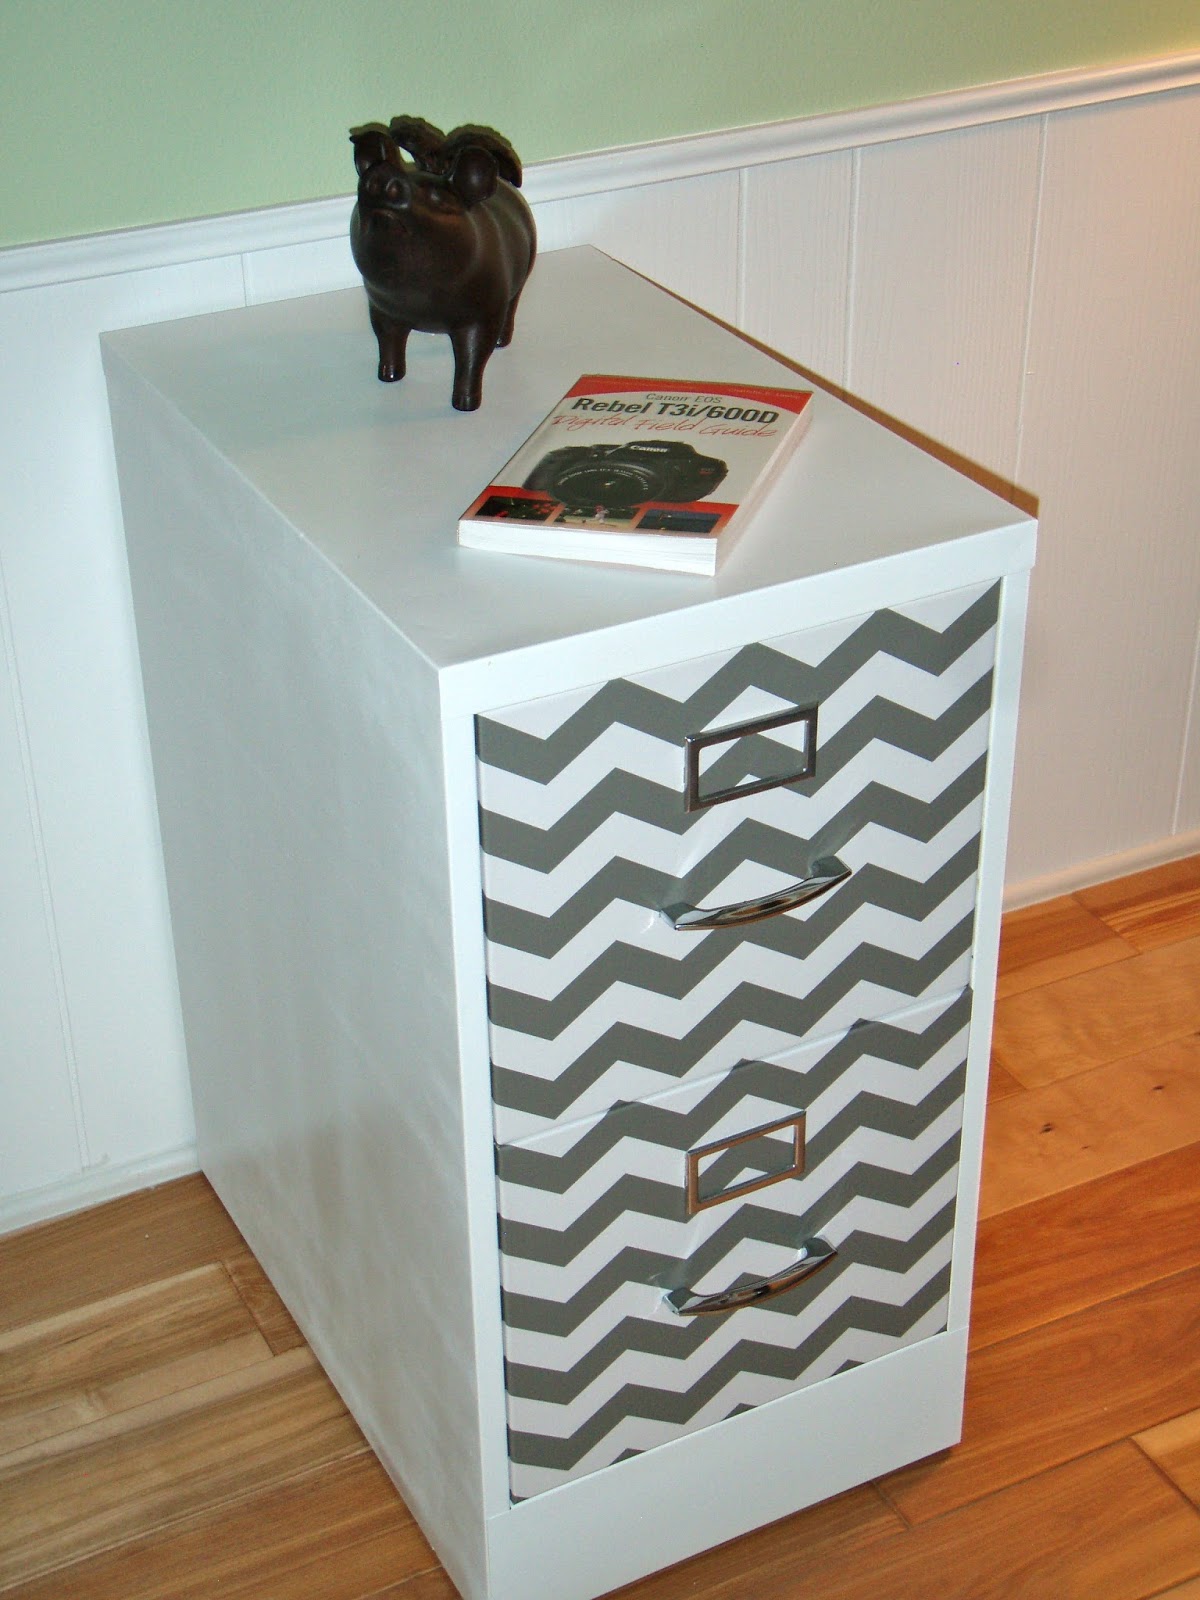
This past winter my friend P. was trying to get rid of two identical filing cabinets. My friend S. and I were both in need of some organizational storage, so I told P. we'd love to have them and give them a new home. Unfortunately, it took FOREVER for me to pick them up! When I finally got them, I realized that they were in pretty bad shape, so I conferred with S. to see what to do about it. Serendipity wanted that her new home had a built in filing cabinet in the office already, so she let me have both! Yeay for generous friends! :)

My DH helped me out by gathering all the best parts from both, to make one solid cabinet, and also spent hours removing all the goo and tape from it! It took a long time for me to work on it, mainly because I was not sure how I wanted it to look like. I scoured the web in search of inspiration and was overwhelmed by the choices. In the end I settled for white paint (again) and contact paper (AGAIN! I know, kinda boring -__-) and opted for a clean look that will work well if I choose to move this bad boy around the house.

So this is what I started with. One very yellow filing cabinet, wiped down and goo removed. In the background, you can see his sad twin...


...that sadly will meet the scrap yard soon. I do hate to waist, but he cannot be salvaged. He's got holes on the top, is missing a lock and its drawers are a bit wonky. 
Please take your time to say goodbye to Mr. Reject. He will be recycled soon.


Back to my project. I started by removing the hardware. The handles were easy--flat head screws. To remove the tags hardware, I had to push simultaneously on 2 small 'levers' inside the drawers. 


Then I removed the drawers. Small stop latches can be found toward the back of the drawers, pulling those latches inward, allows the drawers to slide all the way out.


I sanded the whole cabinet with fine grit sandpaper, then i wiped it down with a wet rag, and I waited a few minutes for it to dry (more like a minute in today's heat).


Then I proceeded to prime with my faithful Zinser bullseye primer (spray). I primed the fronts of the drawers too as I wanted to get rid of the yellow.


Then I waited a few hours for the primer to dry, and I sprayed it with several thin coats of Krylon Fusion white paint (oops, I forgot to take a photo of that part). I used Krylon for my cat chest and I was impressed by the control of its nozzle!

Photo courtesy of Walmart.com

A few hours later the piece was completely dry. I am telling you, nothing like the desert wind to speed up a painting job! So I got to work with the drawer's facings. I cut my contact paper to size and started adhering it. If you want more tips about how to work with contact paper just check my humidifier tutorial :)


I cut slits at the corners...


...to allow for neat folding.


Then I trimmed off the excess...


...folded the paper on the top of the drawer front...
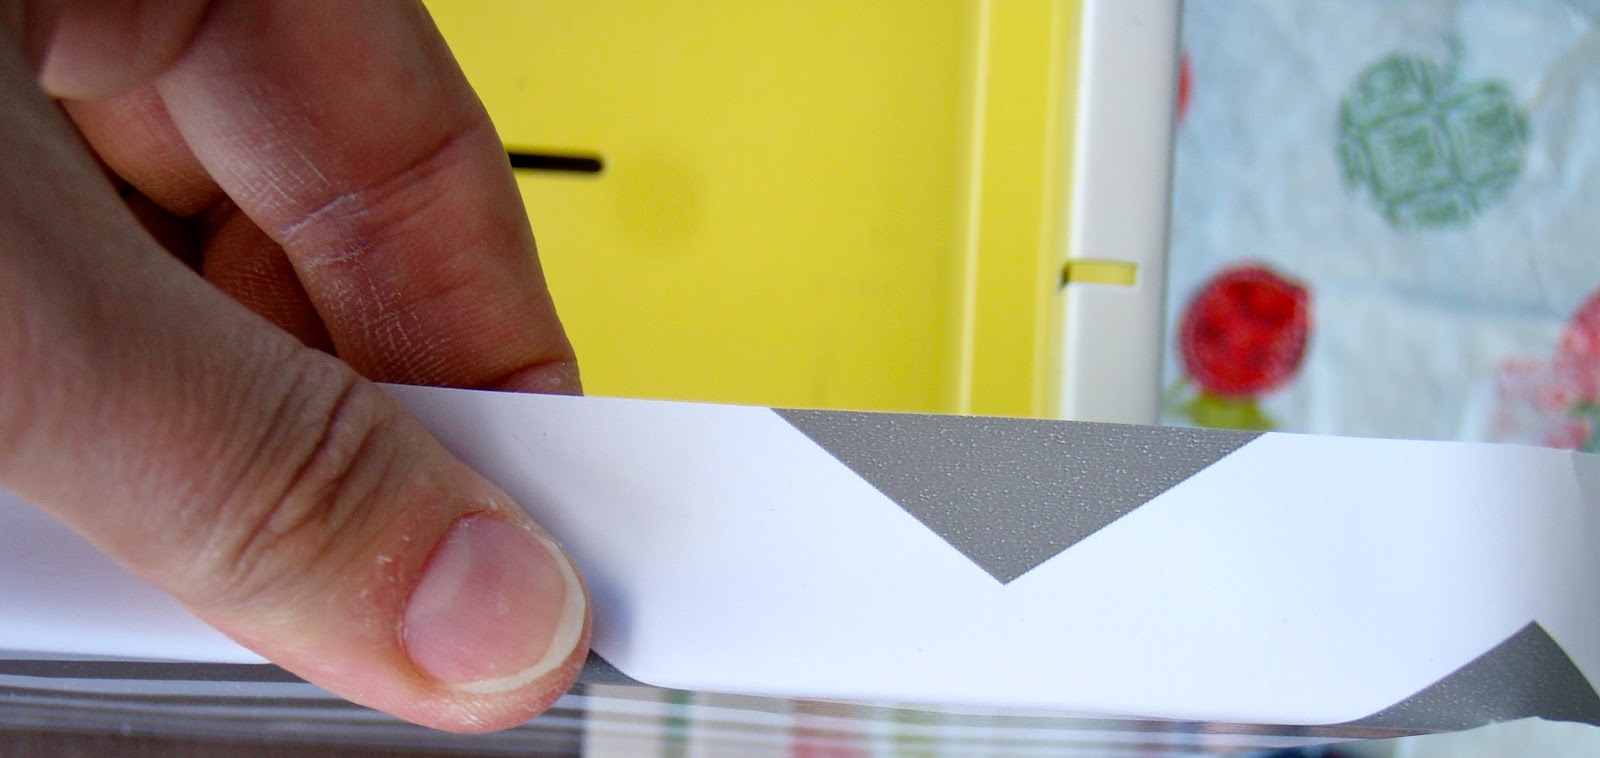

...and then again inwards...


...and trimmed the excess.


Here is a close up of the corner. Not perfect but neat enough.


At this point I cut out the slits for the tag hardware and for the handles.


I put my hardware back on and...et voila'! I really like the pop of color inside the drawers!


If you are wondering what the best way to catch a cat is, may I suggest using a filing cabinet?


Smokey Bones is saying: "Is that REALLY a flying pig?"
Yes it is! :))


Overall I think it turned out ok. I only wish the finish was smoother. That may have to do with my choice of primer over a metal surface, not sure. I may have to experiment with other primers if I ever paint anything metal again. But it's cute enough for me and, besides supplies, it was free! 
That's the best price of all! 


Thanks go out to both P. and S. as without them I would not have a new filing cabinet for the office! 


Thursday, June 6, 2013

Carriage-style Garage Doors Hack Tutorial


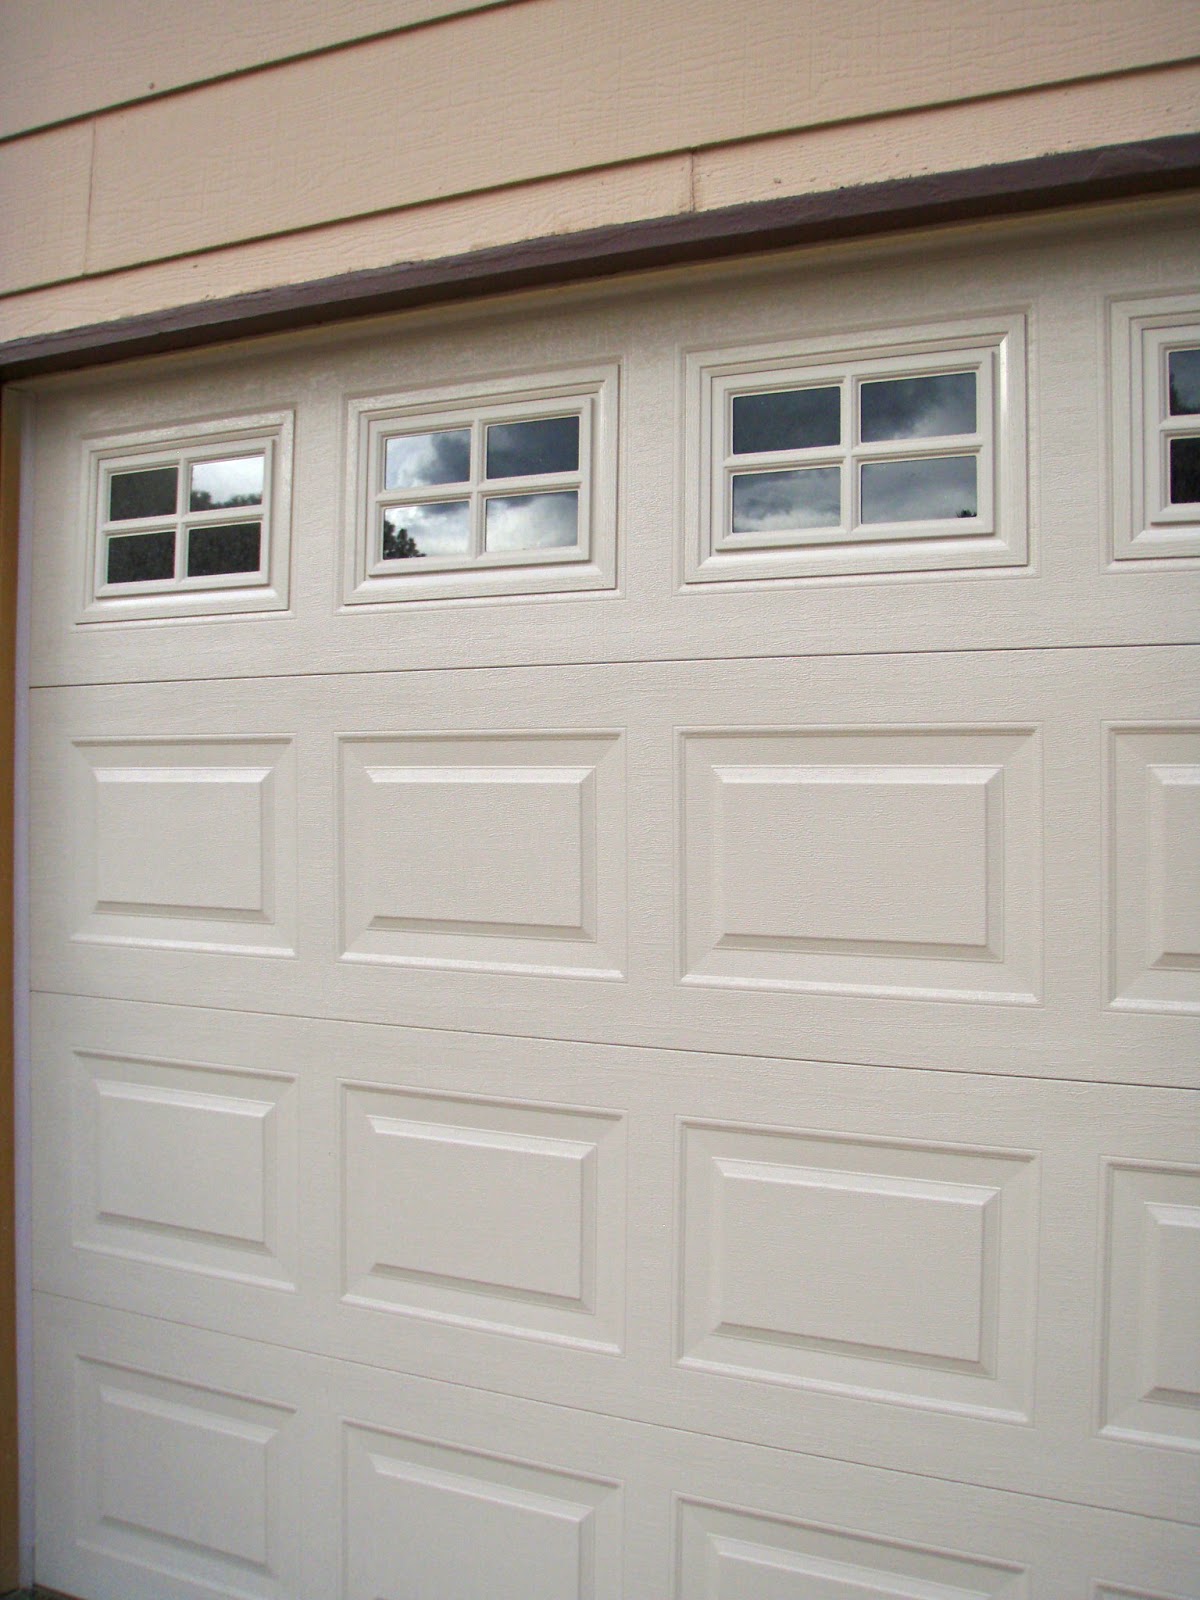
So far we have worked at beautifying the inside of our 1971 split level rancher. But this week I finally got around to my first project outdoors (besides pulling weeds, that is! LOL). I have been thinking at how to hack some fencing gates' hardware for a while now, in order to give a little more something-something to the garage doors. In fact, I even priced it for our previous home, but it was neithr cost nor labor effective, so I abandoned the idea. Regular garage doors look so oddly naked...like something is missing!

Then one day I got lost at Home Depot, I wandered out of my DH sight and that was it. Could not find him to save my life! LOL. So I just started to go down the isles in an attempt to find my lost love...and instead, low and behold, I stumbled upon THIS!!!!


I could not believe my eyes! Exactly what I had wanted and without hacking or costly expense! It was on sale for $14.99! Without even thinking about it, I just snatched up 3 packs and threw them into my cart! This set called "fleur de lis" is not your only option. Crown also manufactures other styles such as traditional...

Photo courtesy of Homedepot.com
...and premium with rings rather than door handles...

Photo courtesy of Homedepot.com

...As well as faux windows too!
Although, at $99 a pair, I would have certainly painted on my own windows! It's just black squares after all! And the effect would not change, you'd have the illusion of windows from the street!
Photo courtesy of Homedepot.com
With the hardware in hand, my next step was to get rid of the tan doors and dark brown trim. We had already gotten rid of the chocolate trim around the windows when we installed them last summer.


Here are two close up shots of the before and after for the single door.


I always love to see what a difference a can of paint makes! Aren't they already SO much better?


The installation was very easy. After deciding the placement for the hardware, DH drilled some pilot holes and then it was just as easy as screwing them in. 


Here is a close up. Pretty cool um? 


I think they look awesome! I can't wait but giggling with pleasure when I see them ^__^

We ended up only using 2 kits instead of 3, as my DH thought two kits on the double garage door would be overkill. I am not opposed to the look of the two kits per double door, but I am fine with this look as well. What do you think? Nice update for a $50 investment, right? 


Monday, June 3, 2013

Kitchen Valance Tutorial


I have been pondering what to do with my sink window for a while now. I am not fond of valances, but I did not have many choices considering the location and usage of this window. I needed something to filter the morning sun rays, yet something that would be light and airy. I really like cafe' curtains but I didn't think them practical for this location (with all the splashing and such). I also considered plantation shutters, but they are very costly and they would open inward not allowing me to use the sill for my herbs garden...so I tucked my tail between my legs and proceeded with the valance project -__-


So here it goes. I laid the fabrics out (the white for the valance, the pattern as a trim) and cut them to size. I had initially thought of using a wooden strip, secured to the valance via velcro, and some corner brackets as hanging system (you can see the wood trim on the counter) but that didn't pan out.


Again, due to the thickness of the fabric I had to sort of hack this sewing project. I hemmed the short sides of both fabrics individually...first the patterned fabric...


...and then the solid white.


At this point I laid the two fabrics, right side facing each other, and pinned in place.


I straight stitched them together...


...and flipped the patterned fabric over...


...to blind stitch the top in place.


I then singed the remaining raw edge of the print fabric...


...and folded it back onto itself (wrong sides touching each other) like this, and straight stitch them into place. Unfortunately, I did not take a photo of that step, but hopefully you get the jist of how I made the pattern fabric fold over to make a band looking at this photo.


At this point I pressed all of the hems flat.


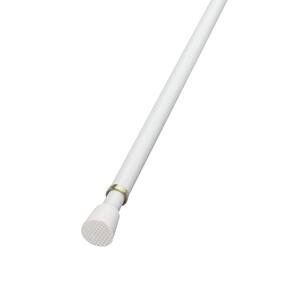
Then I proceeded to make a regular hemming stitch all along the white fabric. The only difference was that I kept the 'hem' much wider than usual...about one inch. That gave me the right size pocket to insert my tension rod. Since my original hanging system plan did not work out the way I wanted, I bought this cafe' tension rod from Home Depot. It's nothing fancy but you don't really see it once it's hung ;)

Photo courtesy of homedepot.com
And this is my final product. Very simple indeed, but it ties in with the rest of the fabric from the table.


...and here is a wider shot.


I know my mom would probably cringe if she saw the way I stitched this valance together, quite unorthodox to say the least, but there is only so much I can do with a cheap sewing machine and thick fabric ^__^

The kitchen is almost done. Stay tuned for the before and after reveal. Thank you for reading!


Friday, May 31, 2013

'Granite' Vitamin Water


Living in a super dry, desert-like, climate it is imperative for me to keep hydrated. A few weeks ago, my bestie S.K. shared a post, on Facebook, on home-made vitamin waters and I was hooked! Since I don't really drink much on my own, I thought this was a great idea! 

This is my first try using what I had in the fridge this week. I will be posting more, as I experiment, and give you my feedback on flavors. This recipe is called 'The Granite' the ingredients are Strawberries or Raspberries & lemon or lime. I had lime leftover (from a tex-mex night with friends) and my bff S.I. brought me organic strawberries, so I was set. 

Here are my mis en place: 8 cups of filtered water (better if you have a 10 cup pitcher) a few strawberries, one lime and several mint leaves (I wish I had more).


You can see that I chose the ugliest strawberries, since they will be soaked and look wilty anyhow ;)


I sliced the lime very thinly and dunked it in the H²O


Then I halved the strawberries and off they went into the pitcher too.


Then I added the finely chopped mint. The more the merrier ^__^


And this is what my pitcher of vitamin water looked like after being assembled. Unfortunately I don't have a nice clear pitcher, so I used my Pampered Chef batter bowl instead...but a pitcher would be much easier to pour from! Tjmaxx here I come ;)


The fruity water has to sit in the fridge overnight to soak up the flavor of the fruit.
This is what it looked like the next day...


...the water got a bit red once the flavor was extracted from the fruit. This is a glass view...


Conclusion: I loved this idea! I drank all of it in 2 days (which for me is astounding). The flavor of the lime is WAY too bitter for me! I don't usually buy limes, in fact, this was brought over by a friend and left in my fridge. I always prefer lemons, as they are much sweeter and I am more accustomed to the flavor. But since I never waist anything, I used this lonely lime instead ;)

To cut some of the bitterness I added a cup of water to the pitcher each time I poured me a cup. That way, I actually ended up watering it down to double it's original volume. It was a win-win for me, I did not have to make 2 pitchers, but in reality I did drink two! I really enjoyed the flavor of the water-soaked berries too, so I ate them. 

I will definitely make it again, using lemons instead of limes, and I may try raspberries (if I can ever find them organic for a good price) just to switch it up. I also think that the mint is absolutely necessary. So refreshing! Also if you have a pitcher with a strainer of sorts, that will work best in keeping the fruit from getting in your glass. Not everyone may enjoy eating the mint leaves or wilted strawberries like I do ;)

I can't wait to try the other 7 recipes! Stay tuned for more, and enjoy this delicious and natural vitamin water ^__^


Wednesday, May 22, 2013

Table Runner Tutorial


Here is the table runner tutorial that I had promised to post. I used the same fabric I had chosen for the chairs, plus some remnants from my patio slider's curtains (up-cycling is the name of the game in my household). Make sure to check out my chairs upholstering tutorial here.


The process was pretty straight forward, really, and quite simplistic too. I decided how wide I'd like the runner to be and I cut out my fabric allowing for seams.


Here are my two fabrics cut and ready to be sewn. Rufus, as always, is dispensing some much needed advice! ^__^


Given the super thick fabric, from the curtains remnants (as well as the thickness of the new outdoor fabric) I only folded the fabric over once for the hems. To avoid unraveling, I first singed all edges with a zig zag stitch. It's a bit hard to see on this textured fabric...


...but it is clearly visible on the patterned one.


Once all the edges were properly finished, I proceeded to attach the two solid bands to the two narrow ends of the patterned fabric.


I then turned the solid fabric over, and did an invisible stitching to the top, to keep everything neatly in place.


At this point I just proceeded to hem the entire rectangle, which was now longer thanks to the two solid bands at the edges. As I mentioned, I only folded the fabric over one time, this was all my cheapo sewing machine could tolerate (notice that the zig zag is visible, if I had made a traditional hem -folded twice- it would just be hidden).


And that's all folks! Pretty easy. The whole project took me a total of 2 hours. It is a very doable craft for even the most novice sewer, and it does make any chairs reupholstering job look more complete. 


And this is how my dinette looks now. Awwww, much nicer I think.


I am planning to add a band of this patterned print to the sliders panels as well. Just to tie things together a bit more in the kitchen. So I will add the tutorial to the blog when I do. Thank you for reading and happy up-cycling :)