Saturday, January 31, 2015

Aromatherapy Shower Disks Tutorial

I have been looking at how to make bath bombs for a while now, but we don't really have a functional bathtub to use, so I sort of just put that idea aside all together. Then one day, while I was looking for DYIs on Pinterest, I saw many ideas for shower tarts. All of the posts had the same basic recipe, so again nothing new or proprietary. These shower disks are great to pop on the bottom of the shower when you have a cold or the flu. The tart melts slowly, while you shower, and the steam mixes with the essences to help you open up your nose and soothe your lungs. Here is what I used:


Ingrediens for 12 tarts:

- 2 cups of baking soda
- 2 TBSP corn starch
- 1/2 cup Water (please keep in mind that I am at high altitude, so I need more water for most baking, if you are at sea level I advise stating with less water and add it in small increments)
- Eucalyptus essential Oil

This is a super easy project that anyone can do, you don't need to be a baker or a good cook for this project. I just measured the ingredients and started by placing the dry ones in a bowl. I mixed them well to incorporate the baking soda to the corn starch.


I then added the water slowly and incorporated with a fork mixing well.


I had to make sure all the clumps were gone. Mixing took A LOT of elbow grease, as the mix is pretty dense. I took a break when my arms got tired and got back to it after a few minutes of rest. 


When the mix was at the right consistency (no lumps, thick and dense) I spooned it into molds. The best way to do this is using silicon molds. They are easy to work with and to peel off of the tart after baking. But paper liners, in a tin muffin pan, will also work. Beware though, you will loose a lot of your tart...as it sticks to the paper liners, but it will do in a pinch. To make sure I got all the air bubbles out of the mix, I gently dropped the molds on the counter...


...the air bubbles came to the surface and I just gently popped them with my fingertips.


I then placed all molds on a cookie sheet and placed it in the oven at 350 degrees. 


I baked them for 25 minutes and removed them from the oven.


At this point they were not completely bone dry, so I let them cool down fully to help with hardening. I then peeled the molds off and left them air dry on the counter (covered with paper towels) for 48 hours.


The final step was to add 10 drops of Eucalyptus oil to each tart (other oils that will work are mint, tea tree, pine, or a combination of mint and lemon, or lavender eucalyptus, etc).


Finally, I placed the tarts in a glass jar for storage. Since I wanted to gift some of the shower disks, (along with my coffee scrub) I got two interesting jars at ARC thrift store and ordered cork tops. This is not the cheapest option, the best thing would be finding a container that has its own air tight lid, but I could not find anything that I liked. I wanted the set to look really cute and perfect for my sweet friend S. so I ordered the corks from widgetco.com They have pretty much any cork size. Make sure you read carefully, on how to measure your container to choose the right size cork, before ordering.


And this is the final product. I think they turned out nice. The labels and silver marker were purchased at Hobby Lobby. I wrapped some twine and added a 'made with love' charm, just for fun.


^__^ 


Sunday, January 25, 2015

Upcycled Sweater Pillows Tutorial

Back again, back again on my upcycle - recycle - DIY kick.

I had two friends who's birthday was coming up in January. So I started to plan for their birthday presents during the holidays. I almost feel guilty posting this one, as it's so easy literally anyone with a basic sewing knowledge can do it. This is another omnipresent project on Pinterest. So I am definitely not taking credit for coming up with the idea. This is just a tutorial on how I did it. 

I went to ARC thrift store and found two sweaters that were in both good conditions and that would complement each other. I paid $2.50 each (50% off on Saturdays). 


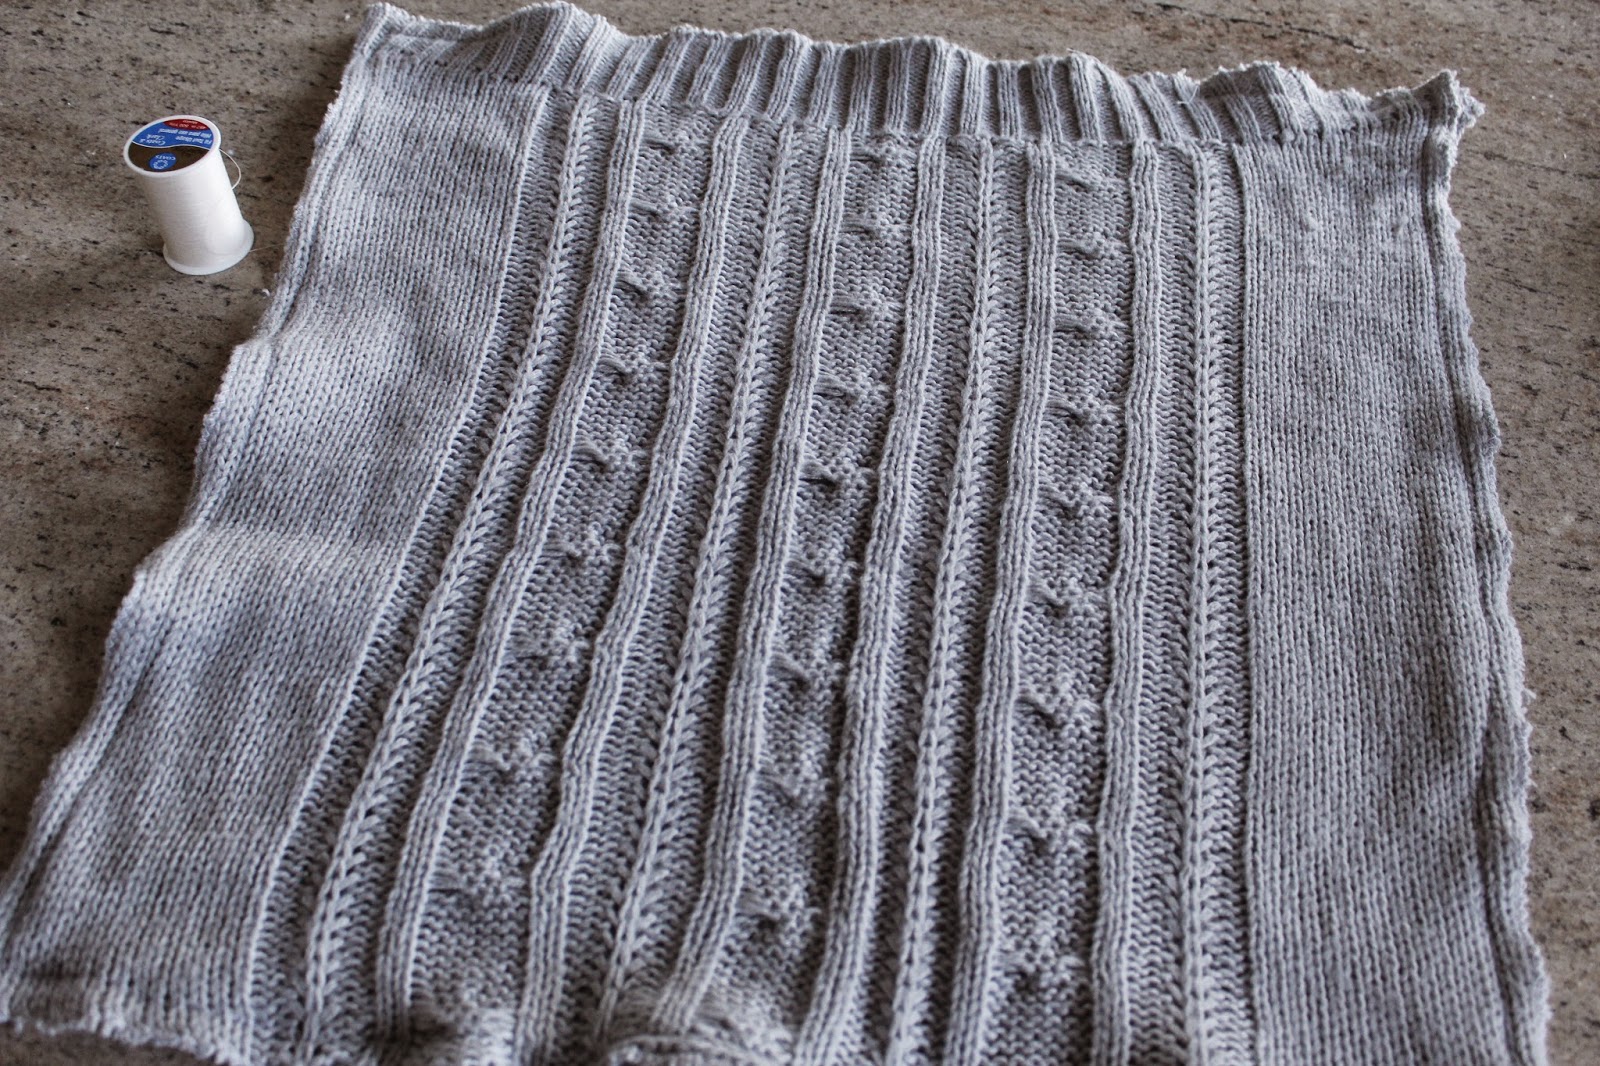
You may recognize the cardigan from my previous tutorial "Boot Socks From Thrifted Sweater" yes, I made two projects using one sweater. How sweet! I also found 2 pillows that had good stuffing and that would fit the size of my sweaters (I got them for less than $2 each). I threw everything in the wash, sweaters, pillows and covers. Thrifted is cheap but always needs a good scrub down. Here they are, all shiny and new. Almost. LOL


Next I removed the pillow covers, turned them inside out and used them as a template to cut the fabric the correct size. Easy does it.


At this point (depending on fabric) one could pin the fabric in place or just sew it hands free.


Using cable knit or loose needle point sweater requires some edging. I edged using a zig-zag stitch. I had to be very careful and feed the sweater into the machine to avoid curling as much as possible. I tried to get a serger for this through Craigslist, but the lady sold it the morning I was going to pick it up. UGH. How disappointing. Craigslisters are a mixed box of chocolate :(


After edging I stitched my basic shape with a straight stitch. 


On the cardigan pillow I stitched a complete square (the buttons act as an entry point) but i chose to leave a gap on one side for the cable knit sweater (to use as an entry point for the filling). 


Here is a close up showing how the straight stitch stops at the top right corner.


At this point I turned the sweater cases inside out (here my partial stitching on the bottom of the pillow is more visible).


I stuffed the cases with the pillow inserts and that's all she wrote as far as the cardigan pillow. That one was super easy and quick. Truly just sewing a square around the fabric. The cable knit pillow-cover took a bit more time.


I pinched the fabric from the opening between two fingers...


...and hand stitched the opening close with a loop like stitch. 


The stitching is nearly invisible using a matching thread.


I added a made with love charm, just for fun. I played around a bit to decide on the placement.


I settled for the top right corner and secured it with a simple stitch.


Looking pretty nice I think :-)


And these are the finished pillows next to each other. I like how they complement one another with a smooth vs. textured look and with opposite shapes. They will look much better on S. sofa. I chose light colored sweaters so they will have more impact and pop more on her dark brown leather sectional. I think the smoothness of the leather will juxtapose well with the comfy sweater fabrics and will complement each other really nicely. 


I hope she enjoys them. I had a lot of fun making them. 

The End ^__^


Sunday, January 18, 2015

Boot Socks From Thrifted Sweater Tutorial

Sooooo....I have been obsessing about boot socks since my friend V. gave my friend L. a pair for her birthday. I looked around but realized that I was not willing to pay what stores were asking. Then my new year's resolutions creeped into my brain (thrift and recycle more, buy less new) so I set up to make my own pair. There are TONS of tutorial on Pinterest on how to make your own, so I am not re-inventing the wheel by any means. But I figured I'd show how I made mine. I got the sweater for $2.50 at my local ARC Thrift Store. I looked for a very stretchy fabric, as the sleeves needed to fit my legs. I planned to add button embellishments. Then I found this cardigan with buttons on the cuffs: SCORE


I washed and dried the sweater and then proceeded to cut off my sleeves. I then used a ruler to straighten up my cut (I decided to add a cotton lace trim as well. So I added it to the photo).


Here are my sleeves all straight and such. The trim was purchased at Hobby Lobby for $2.99


I stitched a straight zig-zag to the cut edge to minimize fraying, as these will be washed a lot.


Here are my edged sleeves. Normally this end would be the part of the socks that is showing out of the boots, but I wanted to use the buttons as they were (and these sleeves fit on my leg both ways) so I used them upside down and this zig-zagged end will eventually be around my ankles.


I put on my boots and socks to measure how long my trim needed to be (waffle knit PJ's. Yup, I roll in style. LOL).


I then cut the trim to size, leaving a bit extra just in case.


Since the sleeves are very stretchy, but the trim is not, I had to stretch my sleeves to simplify sewing. For this part I searched the house for something that was the same circumference as my calves: i.e. a Tupperware container ^__^


Yup. It fits! :))


I slipped the sleeve around it inside out (I stitched the trim on the inside of the sock) and began hand stitching the trim to the cuff of my sleeve.


I used a very simple straight stitch for this, making sure that to make short (nearly invisible) stitches on the right side. If you don't know how to simple stitch you can see that stitch here. I stitched all around and secured the edge of the trim. This is what the trim looks like on the inside...invisible stitching and all.


I then tackled the zig-zag edge and hand stitched it to make a polished edge. I also used an invisible stitch for this. 


You can see here how I only grab one thread of fabric and secure it to the hem I am making. 


...here is the finished hems. The sleeve on top is inside out, while the bottom one is right side out. 


Et voila'. Finished. They are tighter at the top and looser at the bottom, almost a bell bottom fit. That is because I used the smallest part of the sleeve (cuff) as my sock's top. But usually I would do the opposite. So they would have a better fit and could be worn also with shoes to show off the entire sock, rather than just having it peek through boots. And YES! Those are KITTY KATS socks. Aren't they adorable? =^..^=


There it is, boot socks from a thrifted sweater...


...they are very warm and can be worn with riders boots but also with slouchy or ankle boots.


Now I can shift my obsession on wearing those cuties, rather than where to get cheap ones!