Thursday, March 21, 2013

TV armoire upcycle project


I know, I know. I have been silent for too long now. Things have been hectic in my household since one of my BFF's, her husband and 18 months old daughter have been staying with us. They are moving to CO, which makes me ecstatic to say the least, but  their 'dream rental' is taking a while to be ready...and I am surely NOT going to be working on any projects while their little one is around (read: noxious fumes & sticky hands, here! LOL).

I do however, have a project that I finished about 2 months ago, but I just never remembered to post. So today, I thought I would let you in on what I nicknamed "my monster" project. It was a large piece to tackle, and quite honestly, a pretty boring one at that, devoid of any architectural interest. But who can argue with a solid piece that I got (you guessed it) from Craigslist, for $15? I needed something for the basement to store our old TV and components, so this fit the bill to a T.

As with all of my other pieces, the preparation consisted of a good ol' scrubbing with soapy water and a few TBSPs of bleach and a light but thorough sanding.  You may see that the left hand side of the cabinet here is whitish, that's the sanding dust. After sanding I wiped it down with a damp rag and vacuumed it inside and out.


Time for priming. My regular tools: Zinsser Cover stain primer, my Purdy brush, a good quality roller and a stir stick.


As usual I started by painting all the corners with the brush...


...and continued filling in with the roller.


I always work from the inside out, as you can see here.


I always do two full coats of primer. One coat is usually not enough to hide the dark wood underneath. This is the 'monster' after one coat of primer, and then again after the 2nd coat. Slight difference.


Time for the paint to go on, this is what I used for this piece. On the far left: Valspar Ultra 'Cincinnatian Hotel', in the middle: Glidden 'Cappuccino White' and on the right: Minwax Clear Polycrilic. All are in Satin finish. All are latex paints. I usually shy away from using latex on furniture. I don't like the finish and I don't like the durability...but I have a lot of leftover wall paint (that's what this is), so I wanted to recycle it. With latex paint you will NEED to use a top coat or hardener...that's what the minwax is. 


I started by painting the inside of all the cubicles with 2 coats of the Valspar paint (Cincinnatian Hotel). I waited 24hr and then taped around the edges and proceeded to paint the 'monster' with the Glidden paint (Cappuccino White) on the outside.


 To add a bit of visual interest, I painted stripes on the sides. First I painted a long narrow center stripe with the Cappuccino paint, then I measured and marked with a pencil where I wanted the masking tape to go. When I taped I left the mark exposed...


...you can see the exposed pencil mark better from a close up.


Then I proceeded to paint the 'taupe' color on the sides and removed it before it got too dry (for crispness). Some of the paint still peeled off (I HATE latex) so i went in with a tiny brush and fixed those spots. 24hrs later I had to paint (everything inside and out) with polycrilic to harden the finish. Oh fun! One more reason to hate latex for furniture. LOL.


The same treatment was reserved for the doors (washed, sanded, wiped, primed twice, painted twice with the Cappuccino paint and then coated twice with the polycrilic).


This is the finished product...


Here is a detail on the stripes.


And here you can see the new knobs. I found those, 'Marroccan' inspired cuties, at World market for less than $1.50 each (on sale) yeayyyy me! 


You can see them better here from a stock photo from Worldmarket.com

Photo courtesy of Worldmarket.com
Here is a close up of the tooth molding at the top and the curio area.


So again, this is how it looks like finished. I still need to find some baskets, to fit on the cubicles under the TV, and organize it a bit better, but you get the gist of it. Don't you? ;)


I hope this inspires you to makeover your own 'monster' to better fit your home.
Happy painting! ^__^


Thursday, February 7, 2013


Savory Haricot Vert Bread


Since this recipe was a hit last night, I thought I'd share it with you. It's a bit of an original way to use green beans, and it yields a delicate savory bread that can be used as a finger food, appetizer or just as a veggie bread accompanied by a mixed salad. I found the recipe in an italian blog but off course I had to customize it for the ingredients that I had on hand.

Ingredients:

  • 250 g flour 
  • 3 eggs 
  • 8 g baking powder (i used less - for high altitude)
  • 100 g blue cheese (i used Cambozola) 
  • 250 g green beans (i used frozen organic)
  • 50 g coarsely chopped nuts (i used pecans) 
  • 1 dl milk 
  • salt

To start out I weighed my green beans and put them in a microwavable bag. I love those bags. I use them all the time if I am in a hurry (If I have the time, I just steam the veggies traditionally).


Off it went in the microwave, to steam for 3-4 minutes.


I waited for them to cool enough to handle, and then I chop them up. 


At this point I preheated the oven: 400 F (425 F for me, again because of the high altitude). I then got out my eggs and milk.


And beat them well.


I added SIFTED flour (I hate lumps & bumps) and mixed well.


Then came the baking soda...and more mixing.


In went the haricot vert, with some more incorporating.


Then it was the nuts' turn and more stirring.


Almost at the end now, I added the cheese and mixed well.


And finally, the salt went in and the final mixing began.


At this point I got my plum cake form out and proceeded to fill it with my dough. As I mentioned before, I use silicon molds to bake as I find them easy to use. If you don't have one, just use any plum cake mold and either grease it or line it with parchment paper for easy removal of the loaf.


At this point I put my loaf in the oven to bake for 35 minutes. Off course this would be the time to show off my captive audience to all of you! ^__^ 
The kids are always captivated by my culinary efforts. LOL.


After 35 minutes I poked the loaf with a wooden skewer to see if it was cooked. The toothpick came out clean, so I knew it was done. I turned off the oven and left it in there for a couple of more minutes to brown.


And this was the finished product.


The loaf only lasted 17 hours, when I got up this morning I realized my DH had eaten the last two slices for breakfast. I will surely make it again. I would say it is best eaten when it's not yet completely cooled down...it has a very mild and delicate flavor. I hope you enjoy it as much as we did! :)


Wednesday, February 6, 2013

Antique chest update


Not all projects have to be long, tedious, and include paintbrushes :)

Here is my newest 'baby', a chest of drawer that I purchased, you guessed it, on Craigslist. I paid $75 for it and to me it was a steal! It was in good condition considering the age (1939) but needed a bit of a fixin'. It did not need any paint, the clear coat was very good, but somewhere along its life someone decided to 'update' it with some 80's brass knobs. Who puts knobs on a chest? LOL.

So here it is in it's original form, just fresh off of CL. The mirror is the left hand side on the floor as we had to remove it for transport.


Here is a close up of where you can better see the 1980's knobs, and the inside of a drawer. 


This bad boy was full of surprises! Here's what I found once I removed the drawers for cleaning (I apologize for the poor image quality, I took this with my not-so-smart-phone).


But the best part, was finding this inscription under a drawer; it reads: "Howard Johan Van Garbeck. March 3-9-45- 1939. Bridgeport Wisconsin R.C." Wouldn't it be awesome if someone, reading my blog, recognized this name and location? This is the kind of stuff legends are made of! I love finding clues, about old souls long gone, on my vintage pieces! If you happen to have any information regarding this piece, please don't hesitate to contact me or leave a comment below.


Back to work! This is when I vacuumed it really good inside and out, and washed it with a detergent/bleach solution. Never can be too careful; who knows where this baby has been in the past century? At this point, the inside of the drawers still looked a bit rough. Since, this will be in my guest room's,  I opted to line the drawers with a crisp paper to make it more welcoming. I chose a print that would go with the vintage style. I found this at The Dollar Tree Store for $1 per roll, I used 4 on this project.


I started with one of the small drawers. They were easier to maneuver, and they provided me with a learning curve to use on the two larger ones. As in my previous tutorial I measured my contact paper and cut it to size.


I then proceeded to adhere the paper to the inside of my drawer.


I then trimmed any excess, around the edges, with an exacto knife.


Because old furniture is not always super square (to avoid gaps as much as possible), I oversized my pieces a little and directed the excess towards the bottom of the drawer.


Here is a close up to show you how the liner spills from the side to the bottom of the drawer. At this point I cut ONE long piece to fit over the front, the bottom and the back of the drawer. For the 2 larger drawers (to better utilize the liner's size) I did the opposite. I first lined the front and the back, and then made a HUGELY long piece that encompassed the right side, the bottom and the left side of the drawer. Again I cut my front and back sides a bit wider and spilled the excess towards the bottom.


Here is my huge piece of liner all adhered. I can't lie, it was quite a feat with the two large drawers. It did not come out smooth and tight on my first try. I had to peel and re-stick the paper to get it good and taught, but with a little patience it all worked out in the end.


Because of the paper's size, I ended up not having enough for the last drawer...so rather than buying more paper, I made a second seam on the front of the last drawer. (I know it seems like the back would be the best place, but the front will actually show off less, since the back will be the first thing you see when you open the drawer). It's a bit hard to see with the busy pattern of the paper, but this is a close up of my seam in the front lower part of the drawer.


Since I knew the 80's brass knobs were a NO GO, I had to find replacement hardware. I wanted something vintage that would go with the style of the chest. So I measured from screw to screw, and found out I needed 3 inch centers handles. After scouring Ebay, Amazon and several hardware stores, I stumbled upon this delicate set on Etsy.com


I think they look like they belong on my chest and the price was a steal at $12 (including shipping) for the 6! The fact that they are truly old gives my chest even more character. Here is a shot where you can see both the handles and my lined drawers. Don't they look darling?


And here is my guy all ready to host some guests ^__^


I hope that this simple tutorial will inspire you to go out there and find something yours to love. With a bit of luck, and a dash of work, you could end up with a lovely addition to your home. Happy hunting!


Tuesday, January 29, 2013

How to recycle egg whites 


Ever used a bunch of egg yolks for a recipe and got left with unwanted egg whites? It happens to me all the time...when I cook Pasta alla Carbonara, when I bake a particular cake and so on. I hate to waist food so, when this happens, I save my albumen in the fridge (in a glass tupperware) and repurpose it on a new dish. Coincidentally this week we ended up with 6 egg whites so, today it was time to bake them into a nutty yummy cake. I found some inspiration online and then adjusted the recipe for the ingredients I had on hands and this is what I came up with.

Egg whites cake - Ingredients:


6 egg whites
210 grams of sugar (I used a bit less because of the altitude)
120 grams of pecans
114 grams of flour
70 grams of cooled melted butter
one single serve dose of apple sauce
1 tsp vanilla extract

To begin I put the nuts in the blender (I love my ninja) and chopped them finely. I melted the butter for less than a minute in the microwave and then left it to cool down. I also turned the oven on at 340 to preheat.

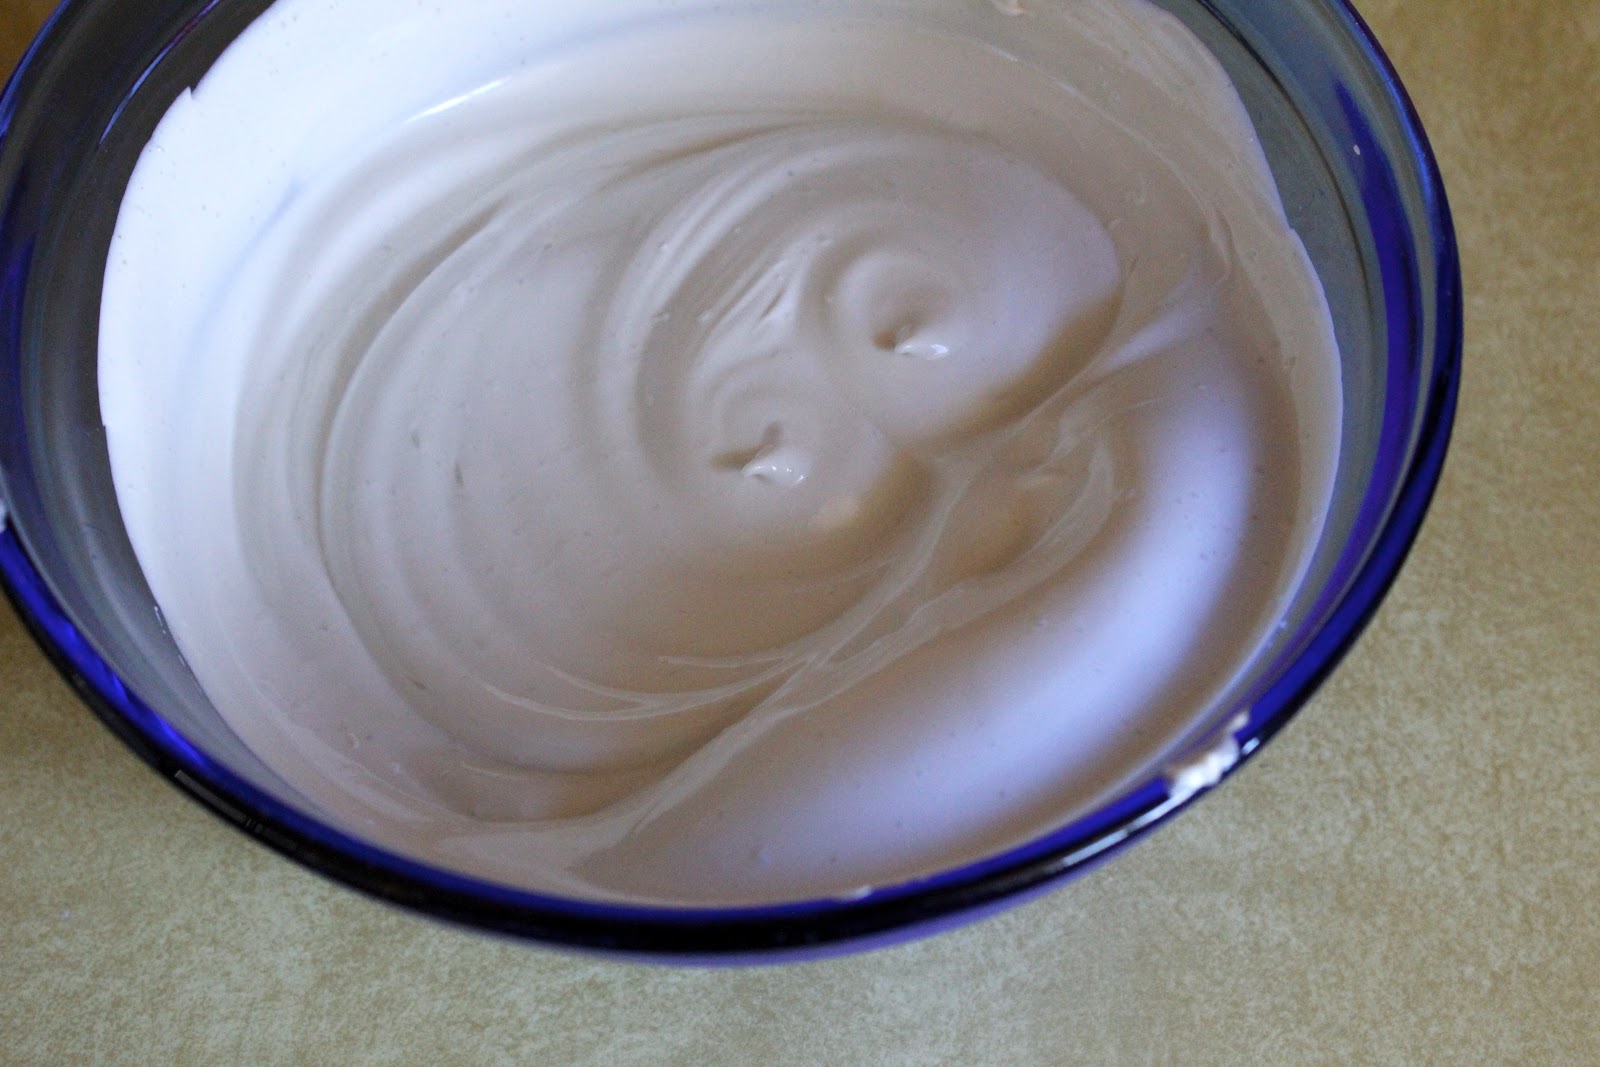
I then proceeded to add my first ingredients in a glass bowl (do not use plastic bowls as the whites may not stiffen. The bowl needs to be grease free and glass seems to work best). I forgot to take a shot of the first step so instead I took a photo of what I started with...the egg whites, sugar and vanilla.


I beat this mixture for about 10 minutes. The whites need to get really stiff and 'pointy' like for a meringue cookie.


I added the chopped pecans and reserved a little to sprinkle later as a topping.


Very gently fold in the nuts and take care to always fold in the same direction (gently enough to avoid 'defluffing' the egg whites). Then I added the sifted flour (I always sift to avoid clumps). 


Once again very gently fold in all the flour. When it's incorporated well add the melted butter.


Fold in all the butter completely and gently, and add the apple sauce.


Mix well until completely incorporated again, and pour into a cake mold. I love to use silicon molds as they require no greasing and they make it super easy to remove the cake from the pan. Sprinkle the remaining pecans on top of your cake.


Bake without ever opening the oven. Insert toothpick in the center after 40 minutes to check if it is cooked. The toothpick will come out clean if the cake it's ready, if batter sticks to it then you need to keep cooking (and checking) at 5 minutes increments. When the cake is cooked let it cool down, then 'peel' it out of the mold and place it on a serving dish (this is when the silicon pan comes in very handy...it just literally peels off!) This is the finished product :)


It seemed to have been enjoyed both by my friend V and by her 2 children. We ate almost half of it in one sitting! LOL. In my case high altitude made a few differences. The cake should have risen more, but this is one of the problems with living at over 6,000 feet elevation. Baked goods, especially stiffened egg whites have problems 'growin' at these heights. If you are at sea level, or near sea level, you should have no trouble getting a fluffy, airy, delicious spongy cake! 

The apple sauce is one of my ordinary tricks for baking. I always substitute half of the butter with it. It keeps cakes moist, adds a little natural sweetness and cuts down on the calories drammatically. I still use butter because I love the flavor it gives and, off course, because some fat is good for you...if in moderation! If you don't want to use apple sauce, just double the weight for the butter ^__^