Sunday, January 25, 2015

Upcycled Sweater Pillows Tutorial

Back again, back again on my upcycle - recycle - DIY kick.

I had two friends who's birthday was coming up in January. So I started to plan for their birthday presents during the holidays. I almost feel guilty posting this one, as it's so easy literally anyone with a basic sewing knowledge can do it. This is another omnipresent project on Pinterest. So I am definitely not taking credit for coming up with the idea. This is just a tutorial on how I did it. 

I went to ARC thrift store and found two sweaters that were in both good conditions and that would complement each other. I paid $2.50 each (50% off on Saturdays). 


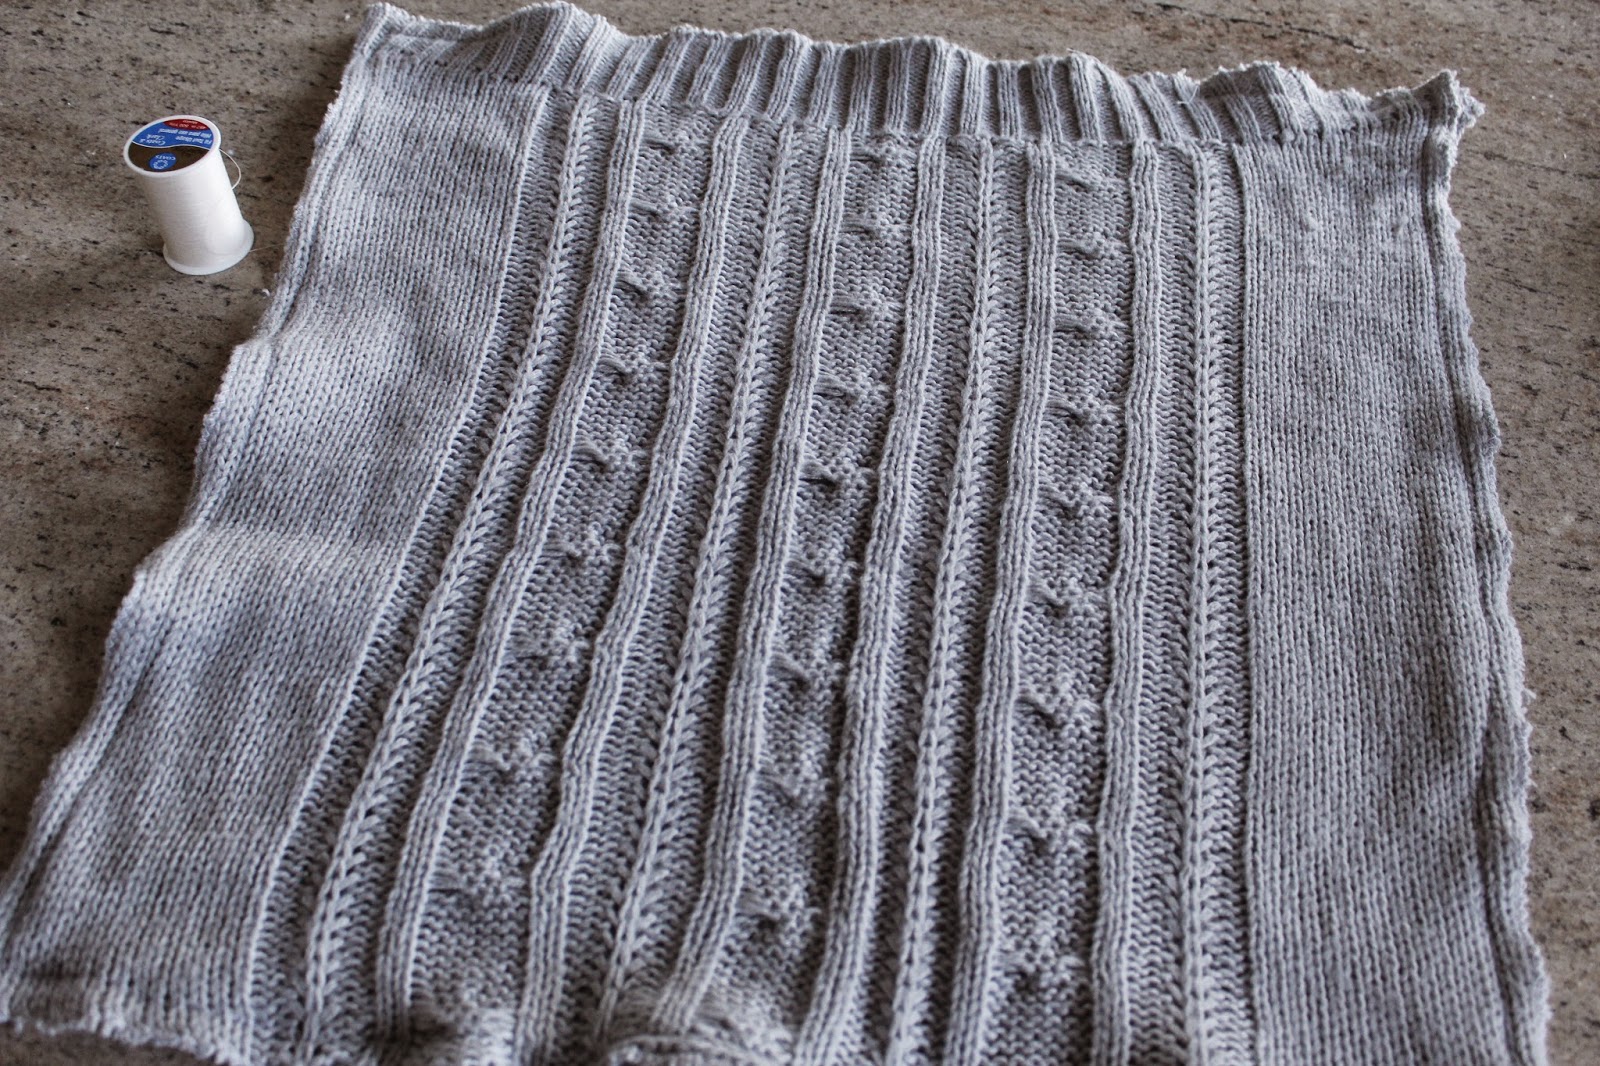
You may recognize the cardigan from my previous tutorial "Boot Socks From Thrifted Sweater" yes, I made two projects using one sweater. How sweet! I also found 2 pillows that had good stuffing and that would fit the size of my sweaters (I got them for less than $2 each). I threw everything in the wash, sweaters, pillows and covers. Thrifted is cheap but always needs a good scrub down. Here they are, all shiny and new. Almost. LOL


Next I removed the pillow covers, turned them inside out and used them as a template to cut the fabric the correct size. Easy does it.


At this point (depending on fabric) one could pin the fabric in place or just sew it hands free.


Using cable knit or loose needle point sweater requires some edging. I edged using a zig-zag stitch. I had to be very careful and feed the sweater into the machine to avoid curling as much as possible. I tried to get a serger for this through Craigslist, but the lady sold it the morning I was going to pick it up. UGH. How disappointing. Craigslisters are a mixed box of chocolate :(


After edging I stitched my basic shape with a straight stitch. 


On the cardigan pillow I stitched a complete square (the buttons act as an entry point) but i chose to leave a gap on one side for the cable knit sweater (to use as an entry point for the filling). 


Here is a close up showing how the straight stitch stops at the top right corner.


At this point I turned the sweater cases inside out (here my partial stitching on the bottom of the pillow is more visible).


I stuffed the cases with the pillow inserts and that's all she wrote as far as the cardigan pillow. That one was super easy and quick. Truly just sewing a square around the fabric. The cable knit pillow-cover took a bit more time.


I pinched the fabric from the opening between two fingers...


...and hand stitched the opening close with a loop like stitch. 


The stitching is nearly invisible using a matching thread.


I added a made with love charm, just for fun. I played around a bit to decide on the placement.


I settled for the top right corner and secured it with a simple stitch.


Looking pretty nice I think :-)


And these are the finished pillows next to each other. I like how they complement one another with a smooth vs. textured look and with opposite shapes. They will look much better on S. sofa. I chose light colored sweaters so they will have more impact and pop more on her dark brown leather sectional. I think the smoothness of the leather will juxtapose well with the comfy sweater fabrics and will complement each other really nicely. 


I hope she enjoys them. I had a lot of fun making them. 

The End ^__^


Sunday, January 18, 2015

Boot Socks From Thrifted Sweater Tutorial

Sooooo....I have been obsessing about boot socks since my friend V. gave my friend L. a pair for her birthday. I looked around but realized that I was not willing to pay what stores were asking. Then my new year's resolutions creeped into my brain (thrift and recycle more, buy less new) so I set up to make my own pair. There are TONS of tutorial on Pinterest on how to make your own, so I am not re-inventing the wheel by any means. But I figured I'd show how I made mine. I got the sweater for $2.50 at my local ARC Thrift Store. I looked for a very stretchy fabric, as the sleeves needed to fit my legs. I planned to add button embellishments. Then I found this cardigan with buttons on the cuffs: SCORE


I washed and dried the sweater and then proceeded to cut off my sleeves. I then used a ruler to straighten up my cut (I decided to add a cotton lace trim as well. So I added it to the photo).


Here are my sleeves all straight and such. The trim was purchased at Hobby Lobby for $2.99


I stitched a straight zig-zag to the cut edge to minimize fraying, as these will be washed a lot.


Here are my edged sleeves. Normally this end would be the part of the socks that is showing out of the boots, but I wanted to use the buttons as they were (and these sleeves fit on my leg both ways) so I used them upside down and this zig-zagged end will eventually be around my ankles.


I put on my boots and socks to measure how long my trim needed to be (waffle knit PJ's. Yup, I roll in style. LOL).


I then cut the trim to size, leaving a bit extra just in case.


Since the sleeves are very stretchy, but the trim is not, I had to stretch my sleeves to simplify sewing. For this part I searched the house for something that was the same circumference as my calves: i.e. a Tupperware container ^__^


Yup. It fits! :))


I slipped the sleeve around it inside out (I stitched the trim on the inside of the sock) and began hand stitching the trim to the cuff of my sleeve.


I used a very simple straight stitch for this, making sure that to make short (nearly invisible) stitches on the right side. If you don't know how to simple stitch you can see that stitch here. I stitched all around and secured the edge of the trim. This is what the trim looks like on the inside...invisible stitching and all.


I then tackled the zig-zag edge and hand stitched it to make a polished edge. I also used an invisible stitch for this. 


You can see here how I only grab one thread of fabric and secure it to the hem I am making. 


...here is the finished hems. The sleeve on top is inside out, while the bottom one is right side out. 


Et voila'. Finished. They are tighter at the top and looser at the bottom, almost a bell bottom fit. That is because I used the smallest part of the sleeve (cuff) as my sock's top. But usually I would do the opposite. So they would have a better fit and could be worn also with shoes to show off the entire sock, rather than just having it peek through boots. And YES! Those are KITTY KATS socks. Aren't they adorable? =^..^=


There it is, boot socks from a thrifted sweater...


...they are very warm and can be worn with riders boots but also with slouchy or ankle boots.


Now I can shift my obsession on wearing those cuties, rather than where to get cheap ones!


Saturday, January 10, 2015

Contempocat & Hauspanther Giveaway Catification Project

Did I mention that I am a big fan of Hauspanther.com ?

I subscribe to Kathrine's blog and I love all the catification ideas, guest posts and giveaways that she is able to offer to her readers weekly. 

Last summer I participated in a contest by Contempocat called "Cats Climbing High". The contest involved posting to Instagram an image of your cat in a high place. The photo was to be tagged as: #CatsClimbingHigh #Catification #ContempoCat #Hauspanther. I participated with this photo of my Smokey Bones standing on the top shelf of our hacked Ikea tower.


We were lucky enough to win the contest, which I thought was unbelievable, since I never win anything LOL. The prize were 4 unfinished cat climbing shelves. 
Oh the joy! 

The award email, from Contempocat.com, informed me of a few additional options. I could purchase the pelican clips from their website (needed to mount the shelves to the wall) and I could choose  finished/painted shelves (for an additional fee) if I wanted. I preferred the unfinished shelves, so I could stain them to my liking. I was also pleasantly surprised to discover that Contempocat sells pelican clips for the same cost as any other home improvement store. To make the deal sweeter they would offer a free shelf if one would buy 5 sets of pelican clips - which would also qualify you for free shipping (they are now offering free shipping on ALL orders). Score! Wood is heavy so free shipping was the cherry on top, I went ahead and placed my order. The shelves were delivered a few weeks later and I began to think where the best placement in the house would be. I finally choose to create a staircase to the top of my entertainment center. This ended up being my fun Christmas holidays project. I had to stain and paint indoors, since the thermometer registered -18 that week. Ugh! My DH helped me to get string on the shelves, to make them easier to hang and paint. I used a broomstick straddled between our two saw horses to hang them in place.


I decided to stain them a dark brown, to match my entertainment center.  I used Minwax Wood Finish stain in Red Mahogany 225. I did not sand the shelves but a sanding with very fine grit sandpaper would have been better. Hindsight is 20/20.
Photo courtesy of Minwax.com
I wore latex gloves to apply the stain to avoid having stained hands for weeks (been there, done that) and used the 'old rag technique'. The shelves took the stain very easily. The hardest part was to get the stain inside all the little grooves. It took some coaxing, but I jammed it in there LOL.


I repeated the process for all the shelves...


...until they were all stained.


I made sure that there were no drips, or pooling of stain in any area, for a uniform look. I then waited 24 hours for the stain to completely cure before I applied a coat of Clear Satin Minwax Urethane.


For this part I used an angled brush. It helped to get the urethane into all the crevices.


Here is a close-up of how my DH used small nails to hang the shelves with string...


We waited a full 48 hours, to make sure that the urethane had completely cured, before tackling installation. These are the pelican clips we used. They can be found at Home Depot (and other home improvement stores) and can be used with any small boards to make your own shelvings. 


We first mounted the pelican clips onto the shelves...


We then proceeded to hang them up on the wall, staggering them at regular intervals. 


This is how the shelves look seen from above...


...and this is how they look from below.


I'd say they look pretty nice! :) It then dawned on me; if I enticed my cats to get up on the unit, I should at least have something rewarding up there for them. Enters: the sleeping station. I went on a scavenger's hunt to ARC Thrift Store where I found a basket for $2.75 and a lumbar pillow that I "stole" for 50 cents. It's an odd shape pillow that may have been overlooked by many, but it's a cute forest green in a gingham pattern and it fits perfectly in the basket, so it was a great find! I also realized immediately that the basket was very unstable and was sliding all over. NO BUENO. My solution was to place a rubberized mat, cut to size, under the basket to add stabilization. I don't need to have a flying cat falling from the ceiling! Safety first! ^__^


This is Rufus performing her 'invisible cat' routine. She is such a Houdini, I bet you can't spot her! 


Gotcha! (Priceless look of terror on her face) LOL!


And this is the whole picture of the final product. I like the way the shelves sort of integrate with the entertainment center and are not too obtrusive. I also chose a darker basket so that it doesn't stick out too much on the dark entertainment center's top. Felis Lynx Rufus enjoys her new hideaway very much. She hops up there and pretends we can't see her. Too bad her ears always stick out of the basket. LOL. She's is still working on her illusionist skills, but she'll be a pro in no time! 


I just wanted to share this project (which was not a true DIY since we did not make the shelves ourselves) to show that even the most unskilled crafter can catify a home on a budget. Even if I had purchased all the shelves and clips from Contempocat, I would have only spent $110, which I believe is a very good deal for what you get: an improved quality of life for your pet! Cats are mostly 'tree dwellers', which means they love to climb to high places. This helps them spot danger from afar in the wild, but in a domestic setting it helps them improve their self esteem, it resolves many improper behavioral issues as well as offering multiple pets a calming spot to rest away from the colony. It is a great way to improve small apartments, as it efficiently adds living space for the furry babies. 

I also want to encourage everyone to visit their local thrift store to buy items that they can repurpose or update, rather than buying new ones from the mall. Decorating and catifying does not have to be expensive. Your thrift store is not only a never ending source of material, it also supports local charities as well as keeping tonnage out of landfills!