Wednesday, June 18, 2014

Retro Wall-Art Update Tutorial

Working full time has not left me much time for fun these days. But, luckily, vacation has arrived and with it more projects. These are my latest "pride and joy"!


A few months back, I found a set of ceramic sparrows at Arc. It was a Saturday so I got them for half off, a whopping $2.50! Gosh how I love a good bargain! I really did love them the way they were, but I am one of those all-or-nothing type of gals. I truly would love to completely restores a 1950's atomic ranch to its former glory, complete with small trinkets like these from the period. But life is what it is. Our home had been stripped, of any atomic fabulousness, long before we moved in. So sadly, I resigned to retain my 'transitional' style from our former home and to just try to make the best of it.


DISCLAIMER: I do understand that there will be many Retro Renovators out there who will cringe at this post, of me painting over these babes. To them I would like to apologize and say that, oddly enough, I know how they feel. I do love vintage and I wish my house was completely retro-renovated. But I don't find esthetically pleasing to have a hodge-podge of styles...hence my decision to go this route.

Back to the sparrows. They were meant to be displayed on a table top of sort, but I knew that I would use them as wall hangings. They were in mint condition, so no TSP wash was needed. They only had minor dust, so I washed them in dish soap and water. I rinsed them well, and allowed to dry for 2 full days. As always I went with my favorite Zinsser primer (I used spray for this project) in thin, even coats.


I used a shallow cardboard box to store them and paint them in. It helped while moving them around too, we had a few dust storms last week. Sand and wet paint are not a good mix, so I cured them indoors. It took a while for the primer to dry, as ceramic is more porous than wood.


I moved the birds several times to hit every possible angle and gave them a thorough, even coat. I allowed the primer to cure one full day and lightly sanded (with very fine sandpaper) any imperfections.


I then sprayed several THIN and even coats of Krylon fusion spray paint in gloss
white, until I reached full coverage. I know, it says 'for plastic' on it and this is ceramic. That's why you read labels carefully and find out what other materials each paint is suited for. :)


I made sure to allow to dry for one full day before handling the pieces. Nothing more annoying than discovering your paint is tacky by leaving finger prints on your finished piece!


At this point I tried to hang them on the wall (flight configurations trials). After several attempts it was clear that a hook of sort was to be attached to the backs.


I used small triangular picture hooks and some gorilla glue. These hooks were purchased in Italy. All hooks I found, at local hardware stores, were just too thick and beefy for this type of application.  So I used my old leftovers. It pays to be a hoarder sometimes! ;)


I made sure not to use too much glue, as gorilla glue expands while curing...my efforts were in vain! It was still too much. LOL.


Finally I was able to hang them up today. I think they look so whimsical.


They found their resting spot in my guest bedroom's wall.


I hope this inspires you to go thrift shopping, or garage sale-ing, to find items to repurpose for your own needs. I will be enjoying these beauties for many years to come!


Sunday, January 26, 2014

DIY Cat Puzzle Tutorial

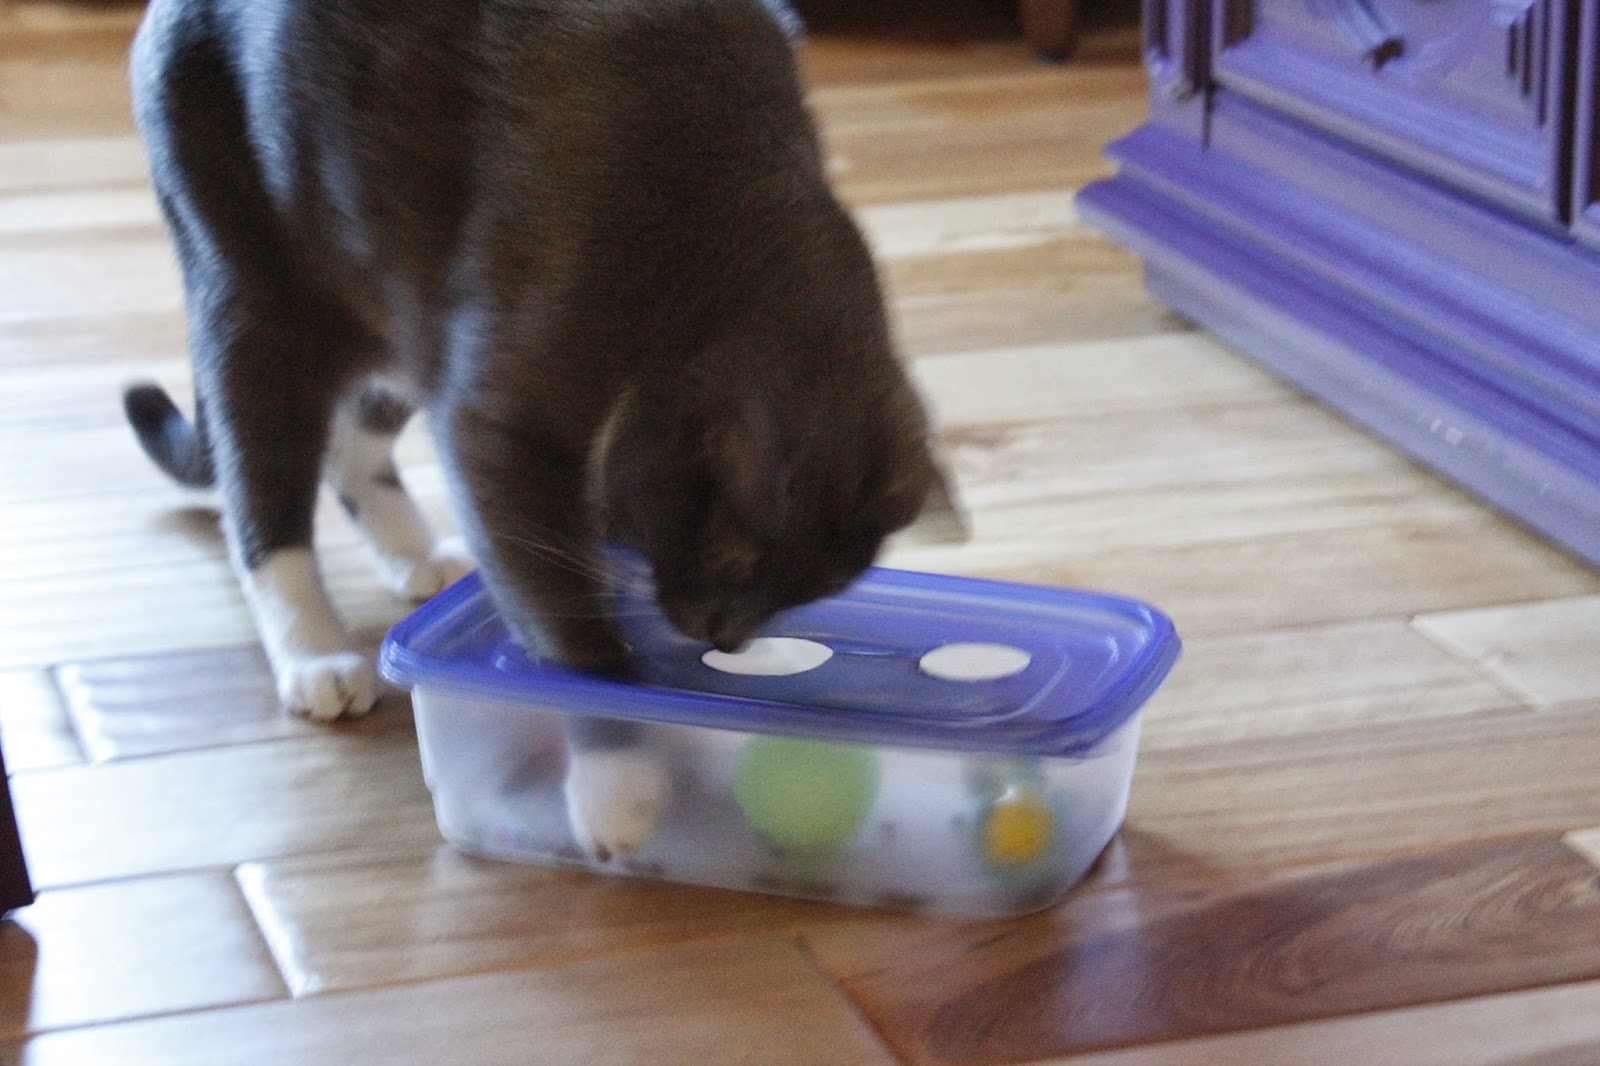
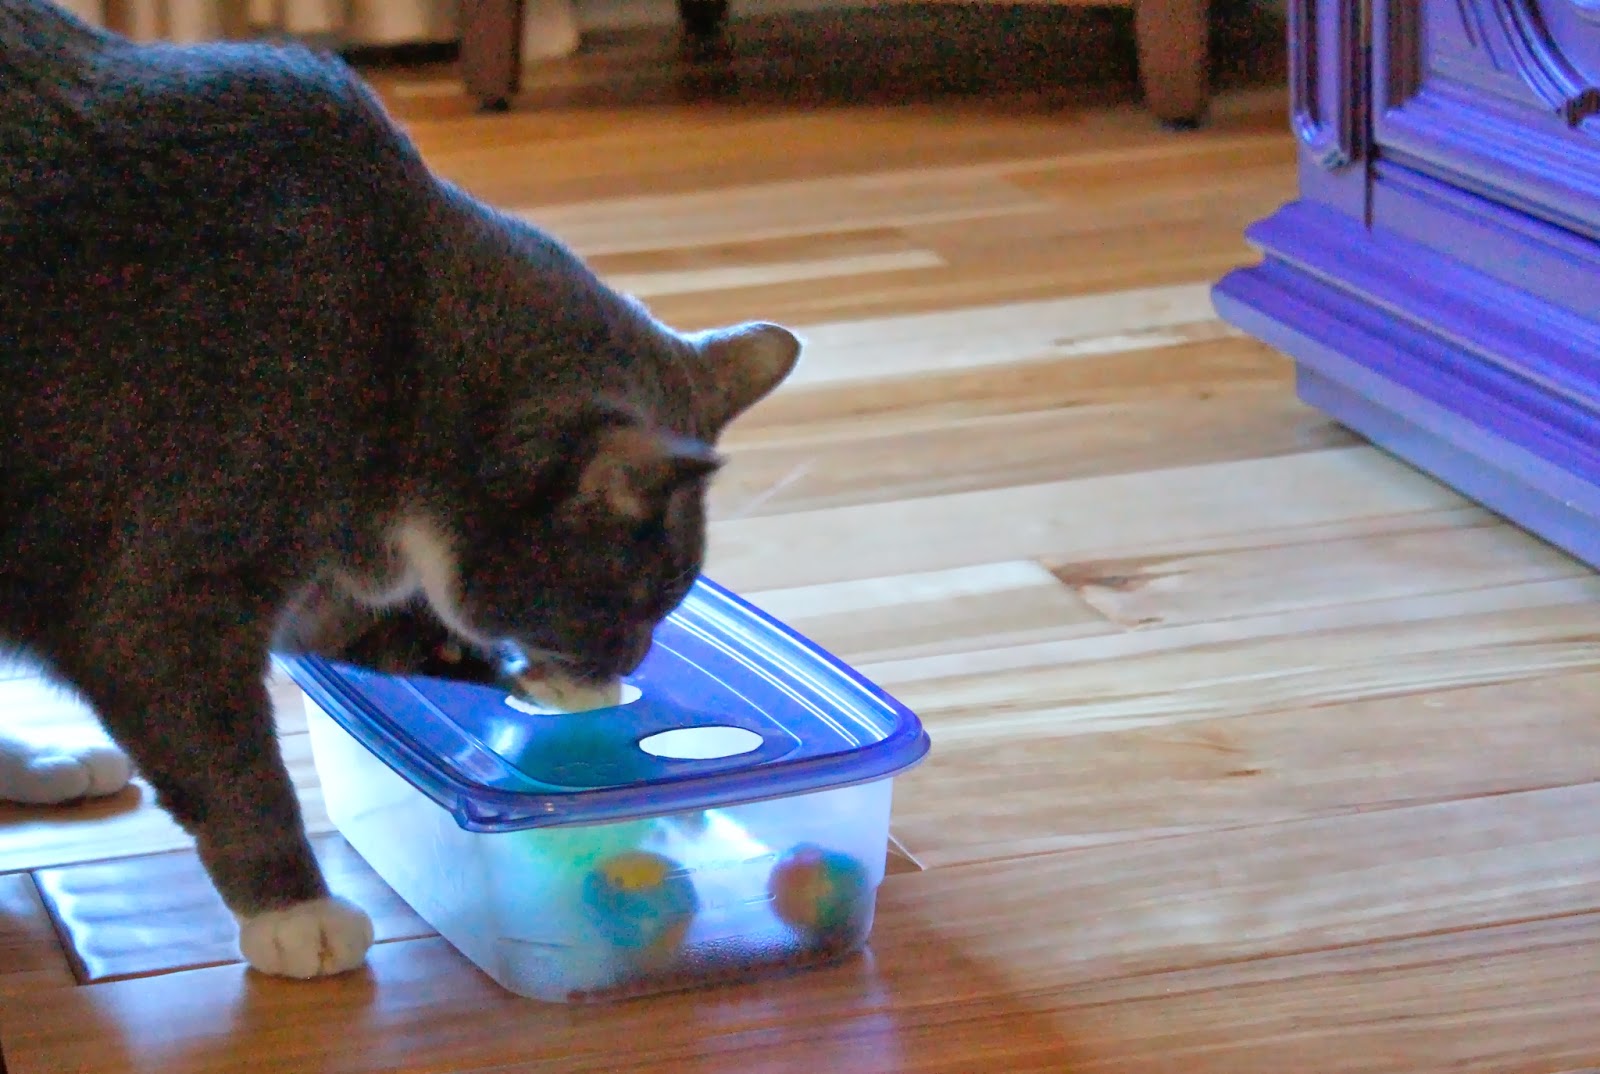
If you know me, you know that I am totally addicted to my two cats: Smokey Bones & Felis Lynx Rufus. I always try to improve their environment, and make up for the fact that I can't let them out here in Colorado. I have been reading a whole lot about cat puzzles lately, and on the web I saw many viable commercial options that could be easily made into a do-it-yourself project. So off I went, to get some supplies, and here is the result of my efforts. Smokey is modeling the result for you here.


Supplies List:
- One (or more) disposable food containers
- Utility knife
- VERY sharp scissors
- Black marker
- Rubbing alcohol
- Lighter
- Small rubber adhesive casters
- Small cat toys/balls (at least one with a bell - for stimulating sounds)
- Cat kibble or treats

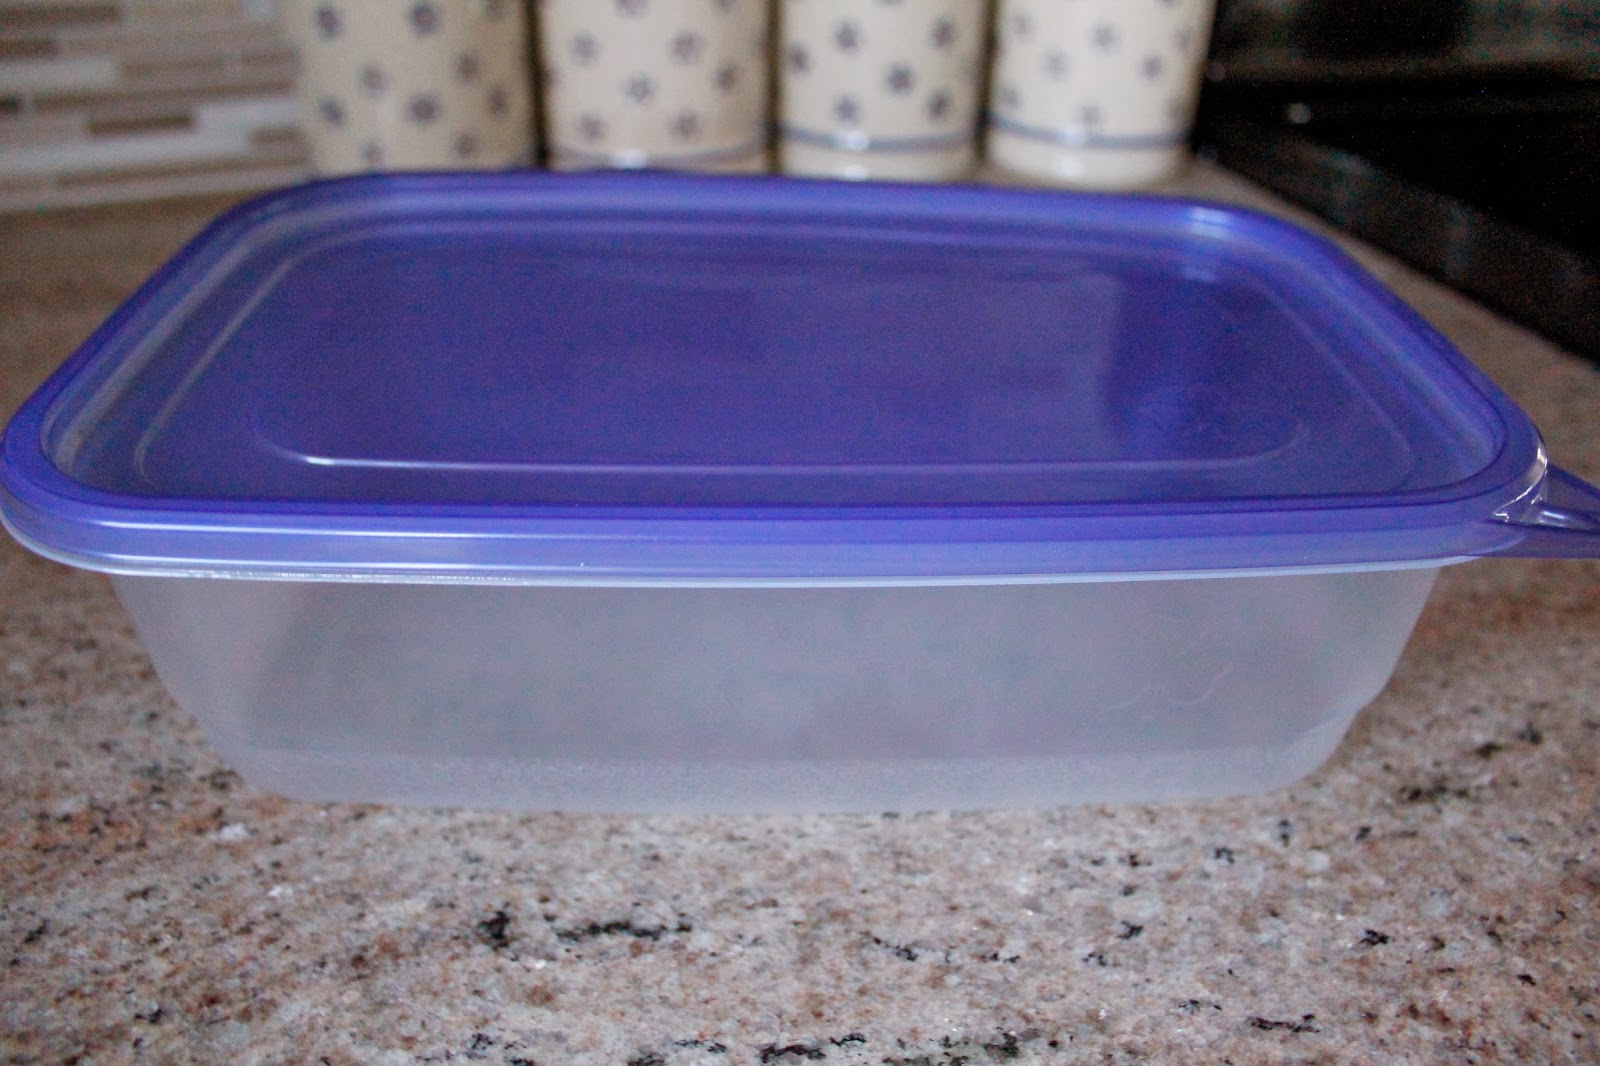
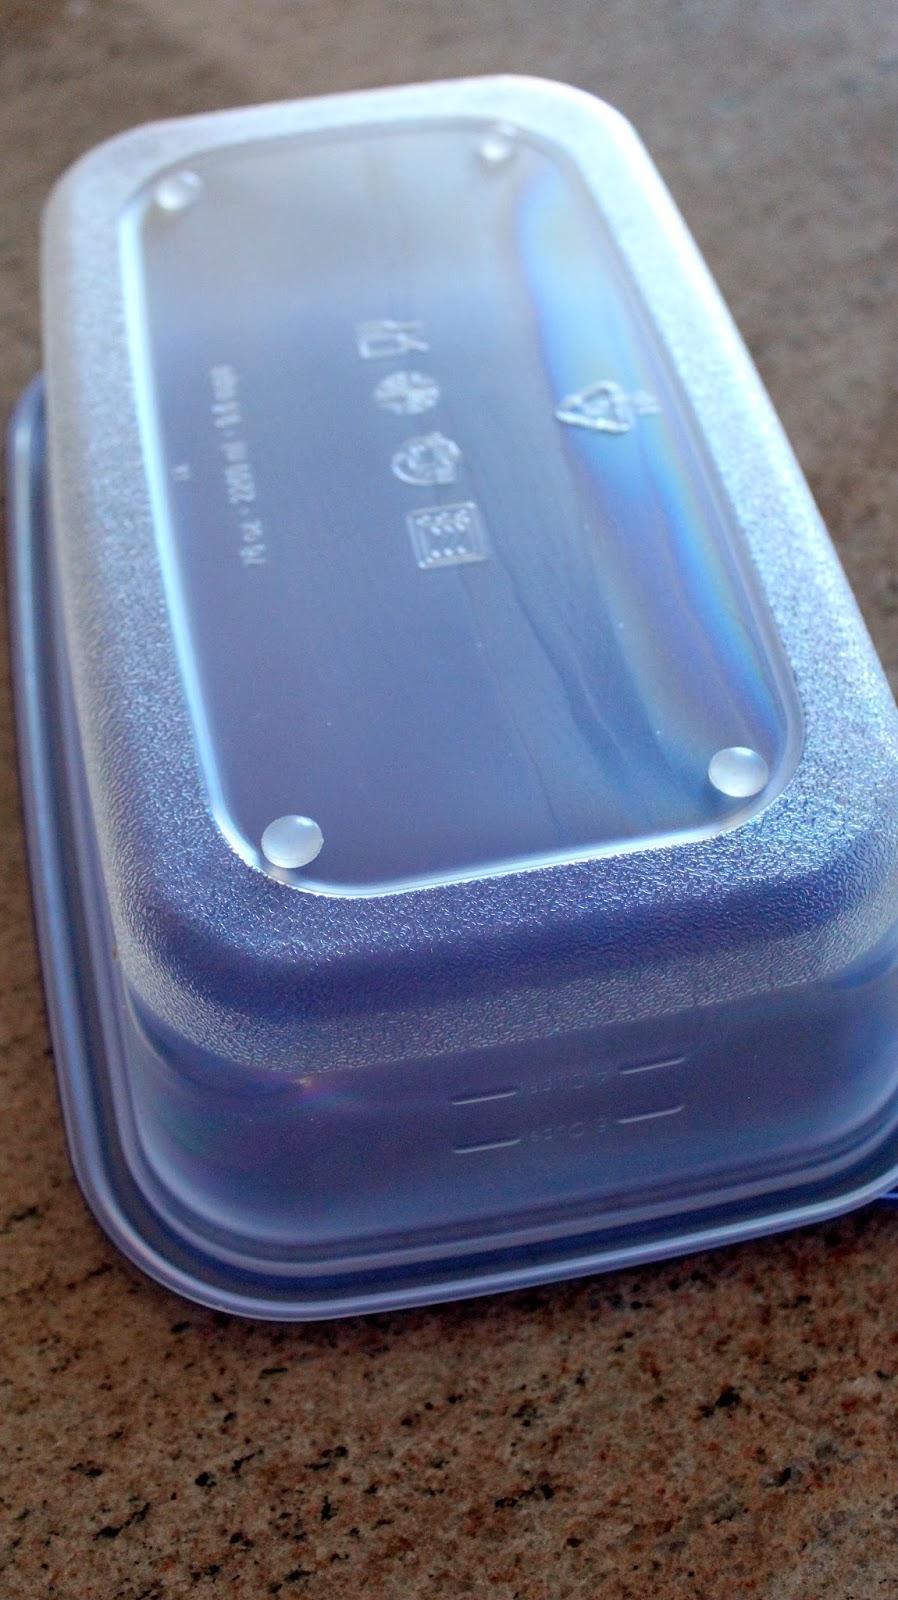
Here is my starting piece. A food container of about 9½ cups capacity. A larger size would be nice, but smaller than this wouldn't probably work. I purchased a pack of 2 at King Sooper (Kroger brand) on sale for $1.99


I flipped the container upside down, and I secured some rubber adhesive casters - to help stabilize the puzzle on my hardwood floors.


I used shot-glasses to draw my shapes onto the lid with a black marker.


I put the lid onto a wooden cutting board, and I scored X shapes inside my circles with an x-acto knife. I used these openings to insert the scissors and cut out the circles. 


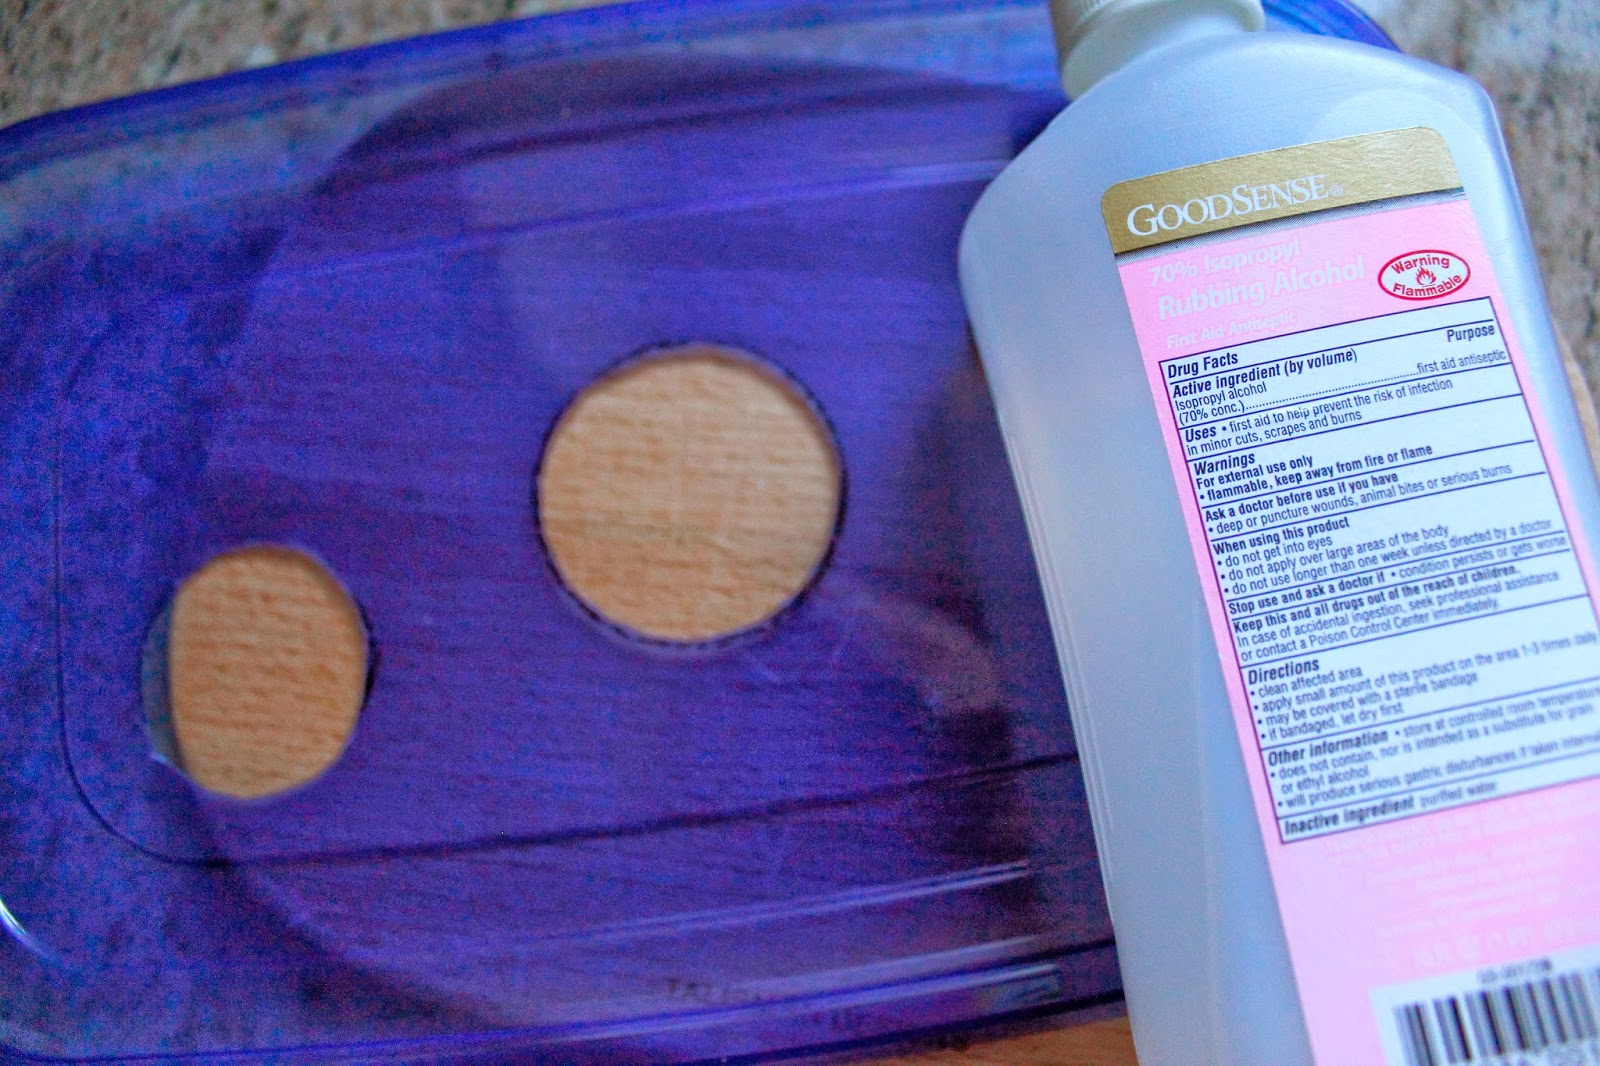
After cutting all my openings, I removed the leftover black marker with some rubbing alcohol.


 I then burnt the edges, of the openings, to smooth them out (paws and jagged edges don't go together!)


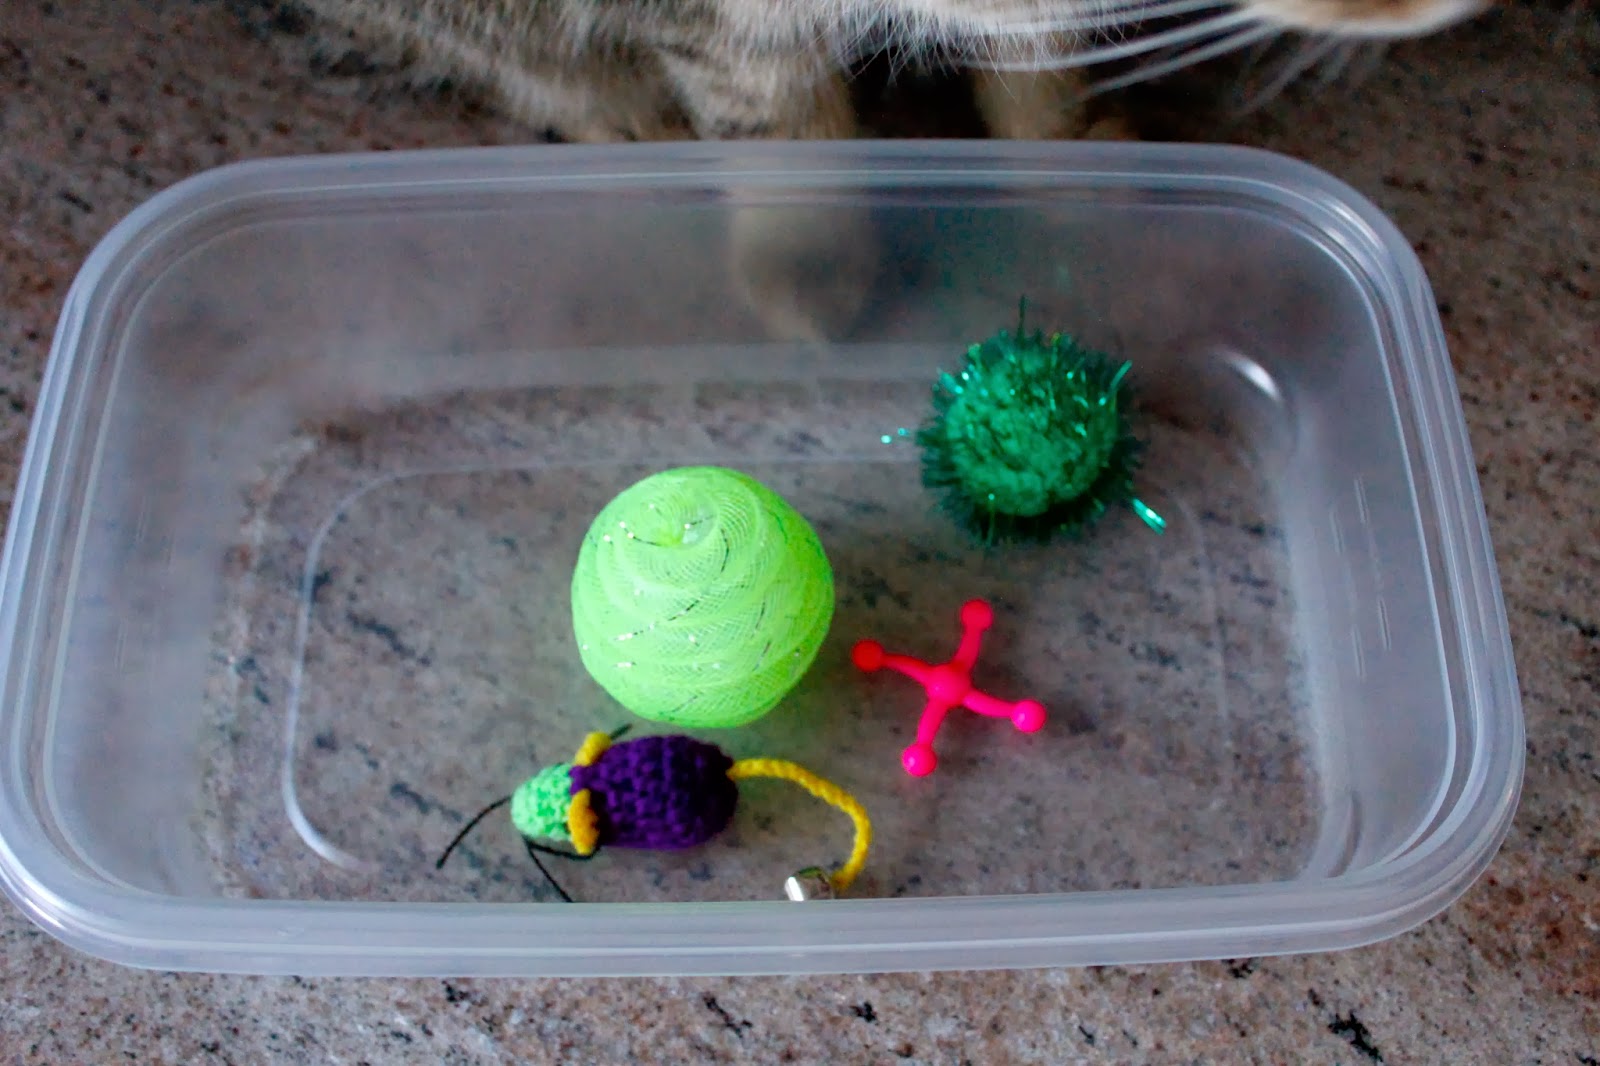
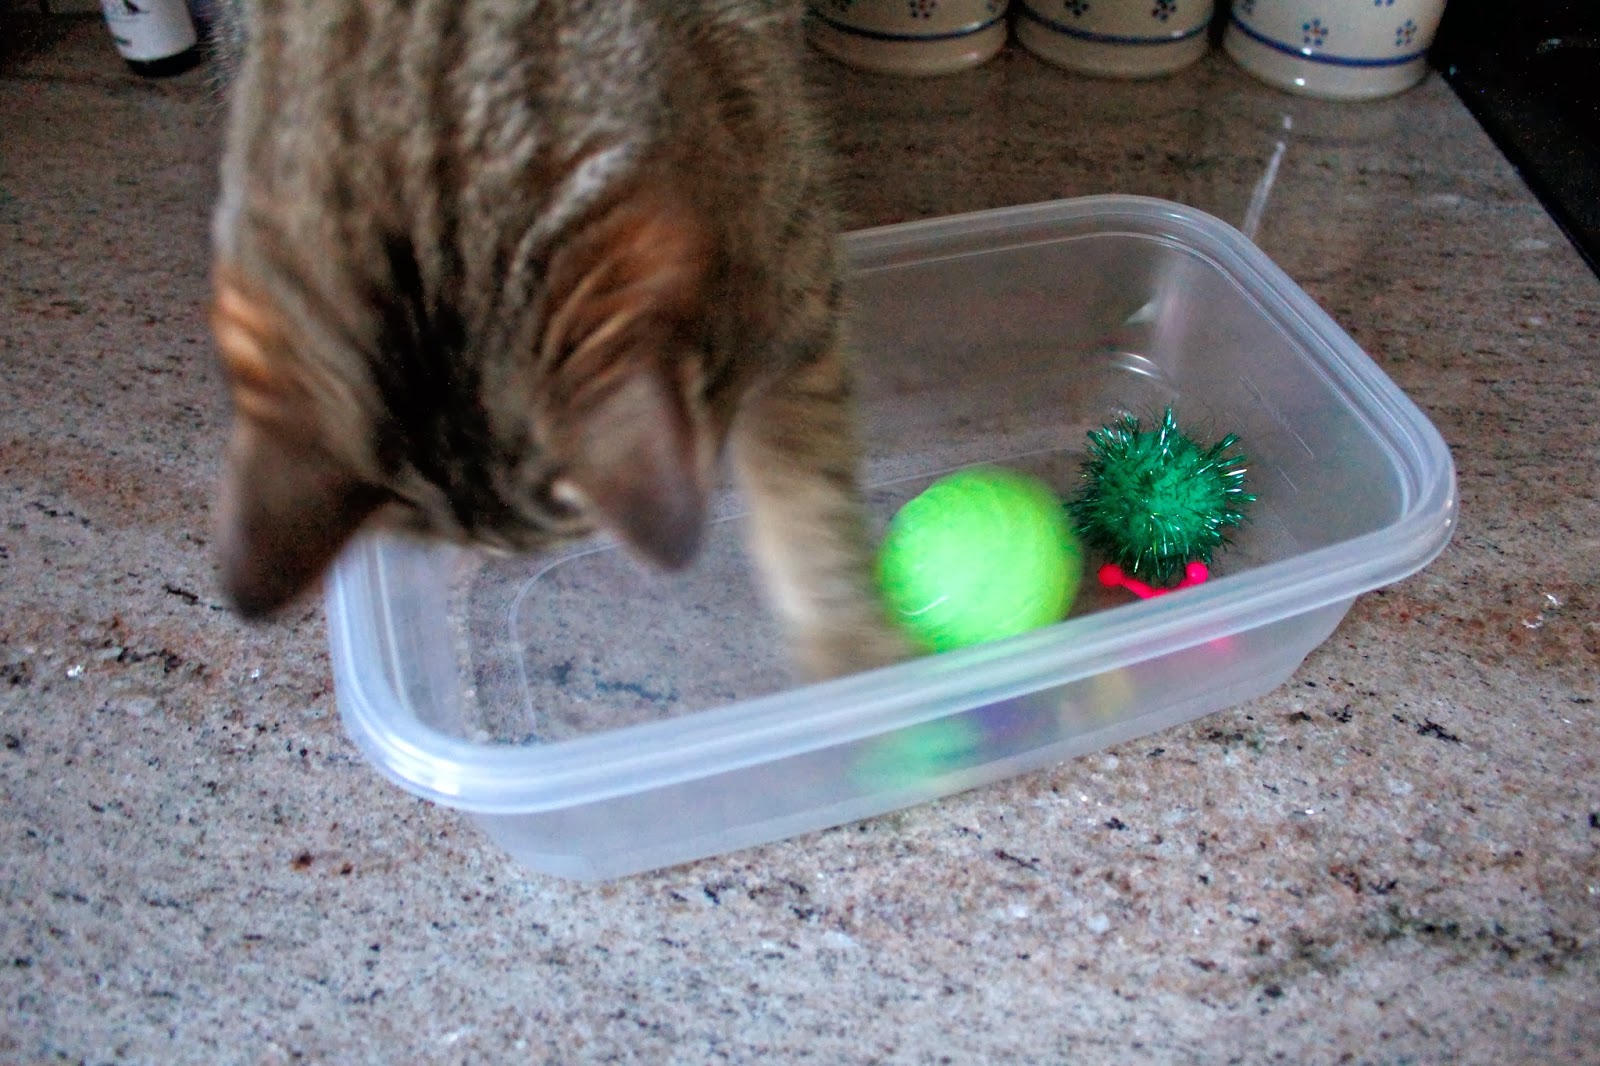
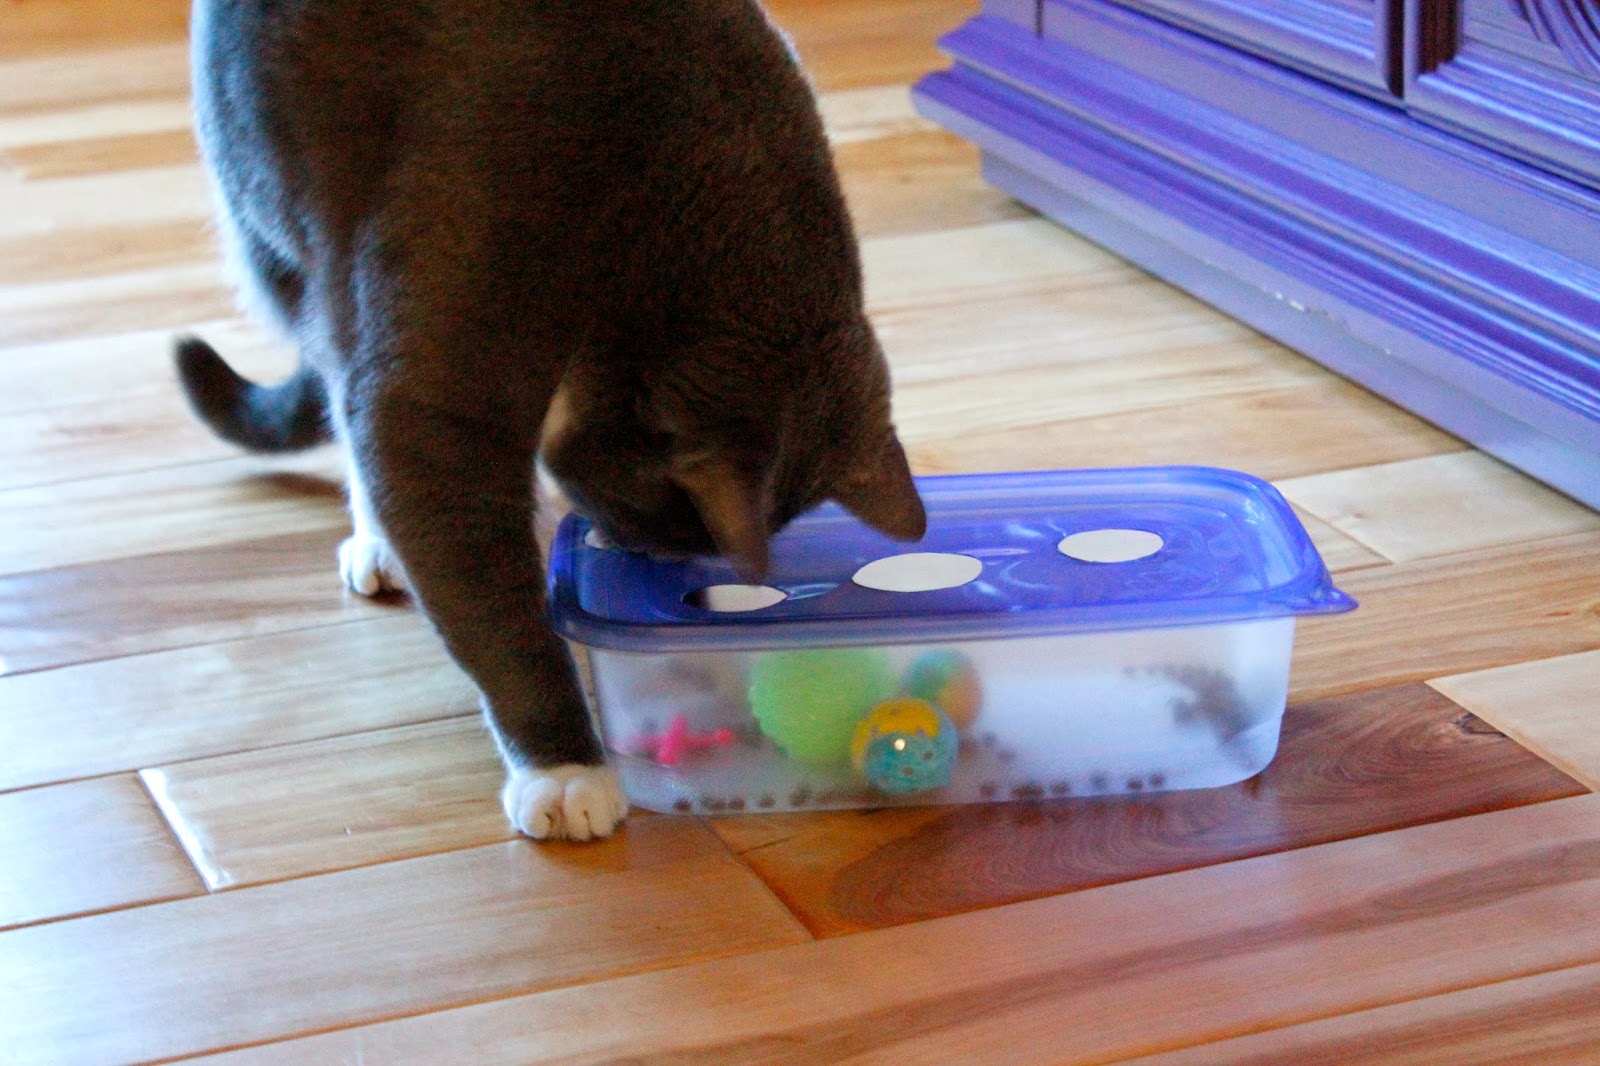
At this point I gathered some old toys and put them into the container. Rufus is supervising the work, to make sure I do it right! You don't need to buy toys for this project. The point is to make it affordable! So you can use old toys you already own, or make your own - with found objects. You can use the plastic safety ring from a milk jug, you can crumple-up some paper and make paper balls, or you can even use buttons or items that your cat naturally plays with. I would advise to have a bell in the box...just for extra auditory stimulation. I used two bells, one is inside the larger lime ball, and one is attached to the mouse's tail. 


Here is the Quality Control Inspector making sure all is kosher and ready to go!


At this point I added some treats to the toy-mix...


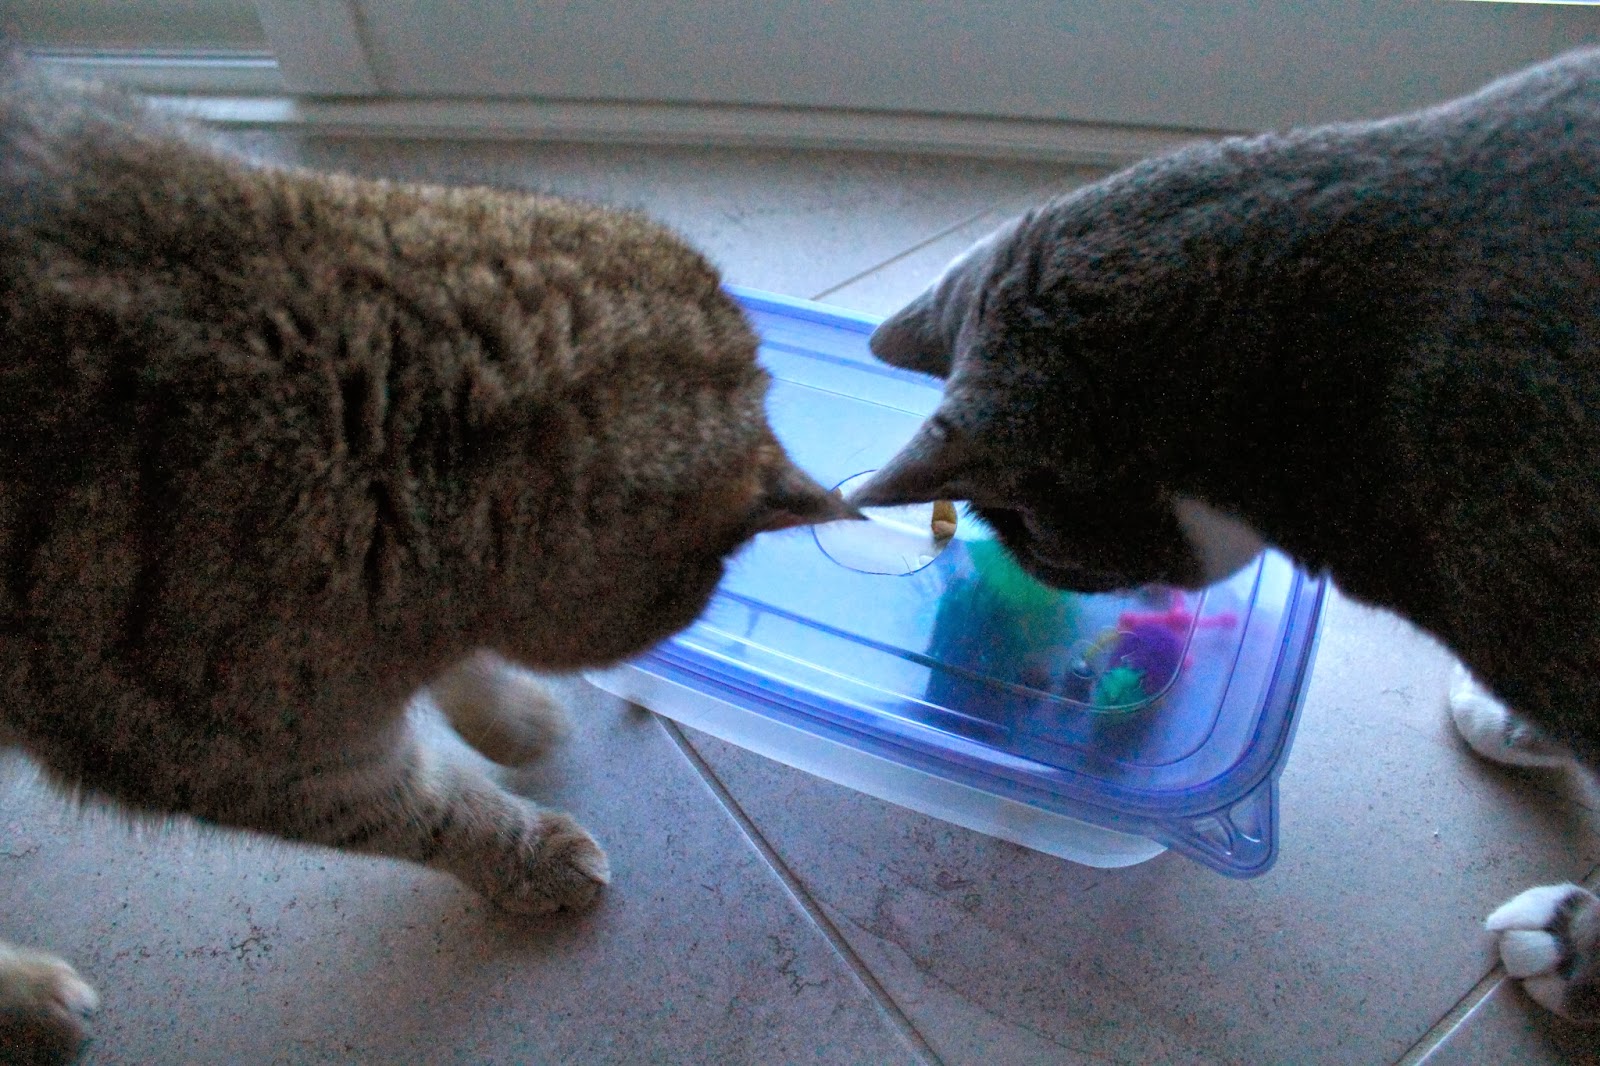
...I put the lid on the container, and watched the cats gather round to inspect it! ^__^


Smokey Bones said: "I can smell it! But where is it? Oh, there! I see it!"


The most rewarding part? I sat down, relaxed, and watched the show! LOL


It may take a while for them to figure it out, but that's part of the point! These type of puzzles, feed into their primordial hunting instinct. They also get a great deal of satisfaction when they do get a treat out, it's hilarious to watch when Smokey succeeds! LOL.


I added a corner opening that same day. I quickly realized that the 3 circles alone, may be too challenging for beginners. I wanted them to be challenged, but not frustrated because they could not 'catch' any prey at all. I feared that if they got frustrated, they would abandon the idea altogether.


I also immediately made a second puzzle box, to ensure that one cat is not hogging it...leaving the other one to merely watch from a distance. I have since used regular kibble in the box so I can use more than a few pieces and they can play longer (treats are very caloric and I try to only feed 2-3 a day per cat).

This is an easy project for anyone, and a very interactive toy that will help to keep the cats entertained while I am gone. It can also be a very effective tool for feeding fast eaters, or for overweight kittycats. It's just so versatile and so easy to make. I can't think of a reason why ANYONE should not make one...or many for their fur babies! 

I hope you and your feline companion enjoyed this tutorial! Team Cat Mojo! 


Tuesday, November 19, 2013

Cream of Chicken & Asparagus Soup - Tutorial

Back again, back again...with yet another soup! The weather, here in CO, just calls for it and I enjoy them so much that I hardly go a day without having a bowl! This soup could be easily become vegetarian as well; just omit the chicken and use vegetable stock/broth instead.


Ingredients:

350 gr Green Asparagus
2 tbsp Butter
1 Chopped onion
4 tbsp Rice (I use Arborio rice)
4 cups of Chicken Stock (I use water and a heaping tbsp of my homemade bouillon)
1 Bay leaf
2/3 cup of Milk Cream (I had sour cream so I used it)
170 gr of Chicken (cooked and cubed)
Salt & Pepper

Here are all of the ingredients, lined up and ready to go. The jar behind the sour cream is my homemade chicken bouillon. I always use it as my base for soups instead of buying broth. It's super cheap and easy to do. Find the recipe here


In a stockpot I sauteed the onions, in a bit of butter and extra virgin olive oil, until translucent.


While I was waiting for the onions to cook, at medium-low for 3-4 minutes, I washed the asparagus and cut off about 2 inches from the bottom (discard this part as it is too woody). I then sliced off the tips and put them in a small pan, with a tbsp of extra virgin olive oil, to sauté until tenter (a good 15-20 minutes on low heat). 


While the asparagus and the onions were sautéing, I quickly chopped the remaining asparagus stems in small chunks. I added the asparagus, the rice, some salt and the bay leaf to the stockpot. I stirred and cooked for 2-3 more minutes.


I then added 4 cups of water and 1 heaping tbsp of chicken bouillon and brought to a boil. I lowered the heat and simmered the soup, covered, for about 30-35 minutes.


While the soup was simmering, I checked on the tips and removed them from heat when done.  


I then proceeded to chop the chicken. I used thighs that I had seared the night before in some EVOO with some rosemary, salt and pepper. Tip: you can use leftover turkey as well. This is a great recycling recipe after the holidays, when the remnants of the celebratory dinner are ready and sitting in the fridge!


When the soup was ready, I removed the bay leaf. Don't forget this step or you'll have crunchy soup ;)


I then used my immersion blender to get the soup to a creamy consistency.


I added the sour cream (milk cream, heavy cream or half & half all work equally great) and incorporated it well.


I returned the soup to low heat and added the asparagus tips...


...and the chicken chunks...


...I gently stirred all ingredients together and adjusted with salt and pepper.


I then served it in pre-heated soup plates and used some asparagus tips and chicken cubes as a garnish.


This is a super delicious soup that lasts well for a few days in the fridge. I hope you enjoy! 


Monday, November 4, 2013

Spicy Bruxelles Sprouts & Kale Soup

I know most people steer clear of Bruxelles Sprouts, but they are very nutritious and high in protein, vitamin A, folacin, potassium and calcium. They are also relatively cheap, a bag of nearly one kilogram runs roughly $3.50 at Costco. So they are a staple in my fridge, especially during the winter months. I usually just sauté them as a side dish, but I also like them in soups. So here is a cream of sprouts that I make with those little cruciferous gems.


Ingredients:

600 gr Bruxelles Sprouts halved
100 gr Kale chopped
1 large potato (or 2 small ones) cubed
1 onion chopped
1 TBSP organic bullion 
Chilly pepper flakes
Chopped walnuts (or pecans) to garnish
Extra Virgin olive oil
Salt & Pepper

Here are all my ingredients ready to go. I had Costco's frozen chopped Kale in the freezer so, I used a full coffee mug of it instead of fresh kale. My homemade organic chicken bouillon (recipe here) is missing in the photo. I forgot to get it out until I needed it. But you get the idea; this is an easy soup that requires only a hand full of ingredients. 


I washed and cleaned the sprouts; removing any ugly/spotted leaves and cutting a little of the stem off. I then sliced them in half. I peeled, washed and chopped the potatoes. I then chopped the onion and sauteed it in some olive oil until translucent (7-8 minutes, at low heat to avoid browning).


Next I added the sprouts, the kale, the potatoes and the chilly flakes. I used 1tsp of flakes, but you can use more if you can take more heat. 


I stirred the ingredients, and cooked them for about 5 more minutes on medium-low heat.


I added 1 liter of water and a TBSP of my bouillon (stock will work just as well). I brought the soup to a boil, lowered the heat, covered, and cooked for 20 more minutes.


I then removed some of the sprouts with a colander and set them aside for garnish.


I waited a few minutes for the soup to cool off, and then used an immersion blender for a smooth and creamy consistency.


I returned the soup to heat, warmed it back up, and adjusted it with salt and pepper. I then served it topping it with some halved sprouts, chopped nuts and a sprinkling of red chilly flakes. 


If I have stale bread I chop it up roughly, and then line the bowls with it before I pour the soup in. Before serving, I always add some freshly grated Grana Padano (or Parmigiano Reggiano) for flavor. The secret with Bruxelles Sprouts is to cook them long enough to be al dente, but not allowing the glucosinolates to release sulfur as they cook. That is what causes the 'rotten egg' smell that people dislike about sprouts.

I hope you enjoy this recipe and give this wonderful veggie another try :)